Why measure gloss?
Gloss is an aspect of the visual perception of objects that is as important as colour when considering the psychological impact of products on a

£2,980
All GBP prices are exclusive of UK VAT (where applicable)
Prices exclude local duties – Purchase through your local agent
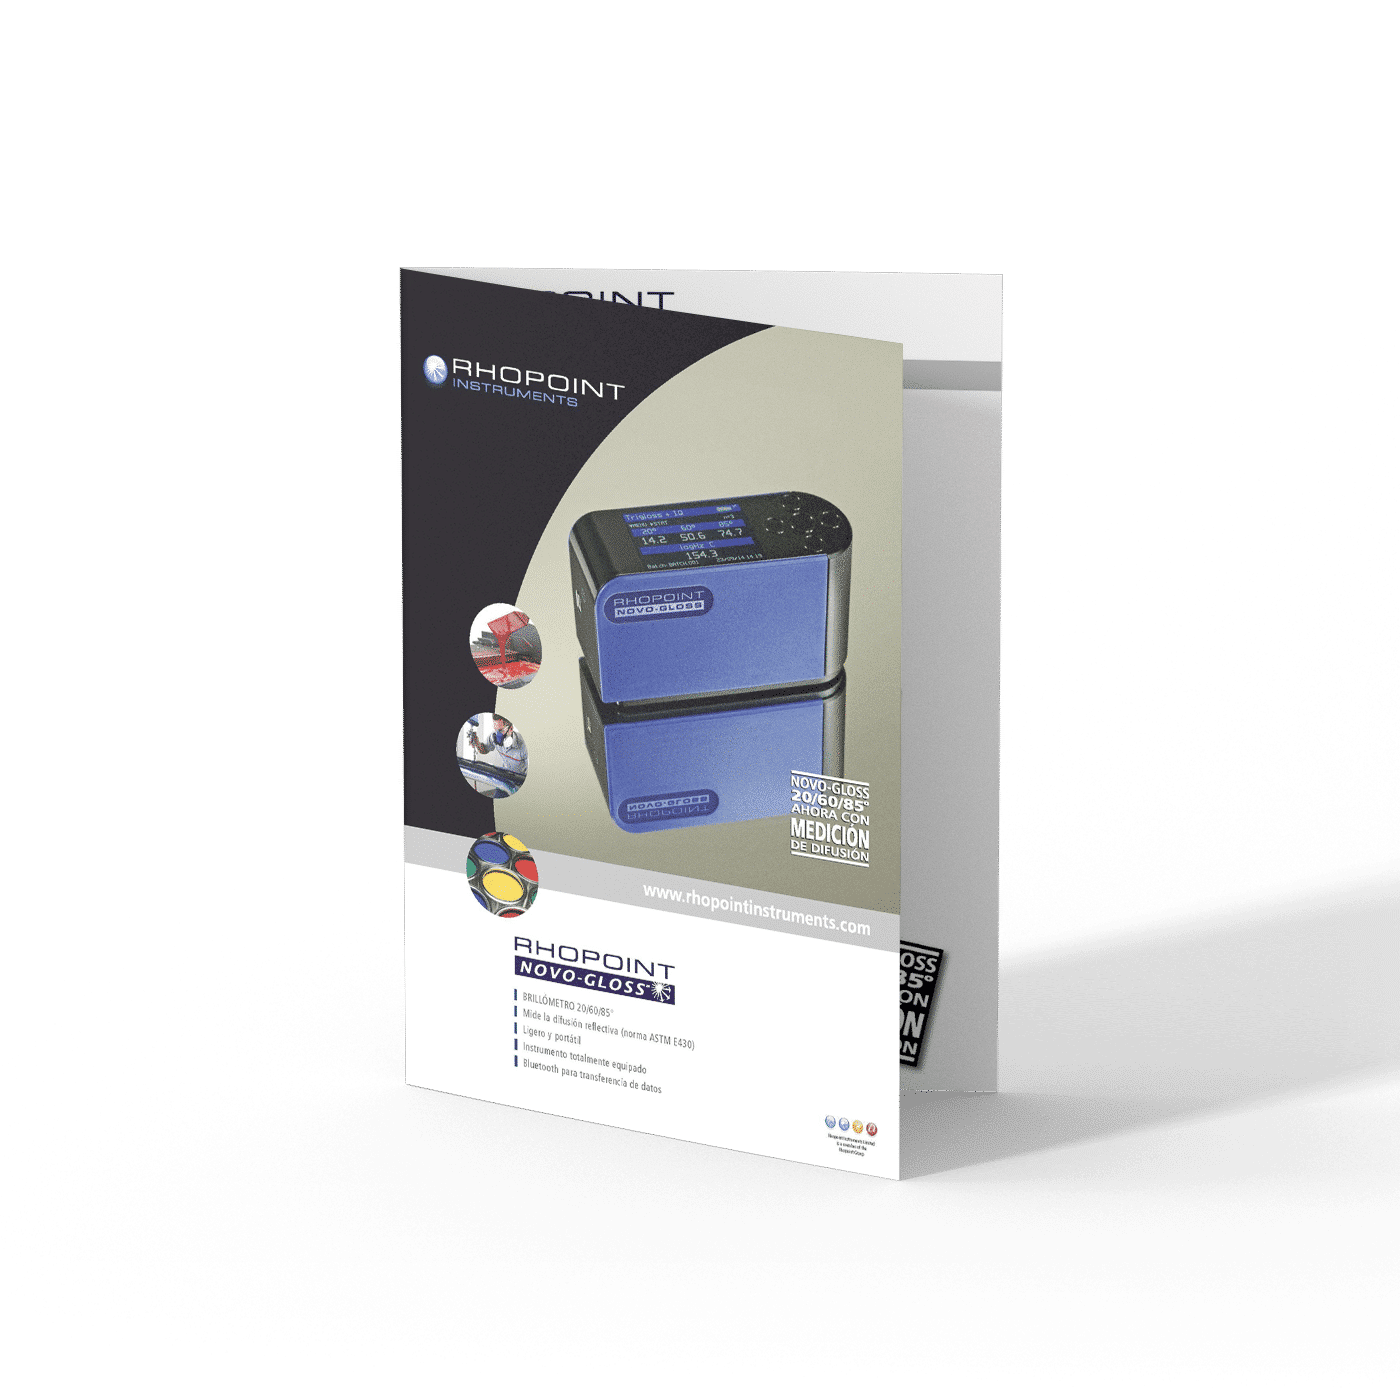
The Novo-Gloss 20/60/85° gloss meter is designed to meet the measurement criteria for most gloss measuring applications.
The high specifications, including statistical analysis, graphical analysis and software-free PC down load facility make it the ideal gloss meter for matt to mirror surface finishes.
Gloss measurement for all surface finishes:
Haze measurement to ASTM E430
Reflectance haze measurement with compensation mode to provide consistent readings of metallics and speciality pigments

Gloss has been defined as ‘The attribute of surfaces that causes them to have shiny or lustrous, metallic appearance.’
Manufacturers design their products to have maximum appeal: from highly reflective car body panels to glossy household appliances or matt finish automotive interior trim.
This is especially noticeable where parts may be produced by different manufacturers or factories but will be placed adjacent to one another to create the finished product.
Gloss can also be a measure of the quality of the surface, for instance a drop in the gloss of a coated surface may indicate problems with its cure, leading to other failures such as poor adhesion or lack of protection for the coated surface.
The gloss of a surface can be greatly influenced by a number of factors, for example the smoothness achieved during polishing, the amount and type of coating applied or the quality of the substrate.
It is for these reasons that many manufacturing industries monitor the gloss of their products, from cars, printing and furniture to food, pharmaceuticals and consumer electronics.
It is important therefore that gloss levels are achieved consistently on every product or across different batches of products.



ISO 2813 and ASTM D523 (the most commonly used standards) describe three measurement angles to measure gloss across all surfaces.
Gloss is measured in gloss units (GU) and is traceable to reference standards held at NIST (USA).
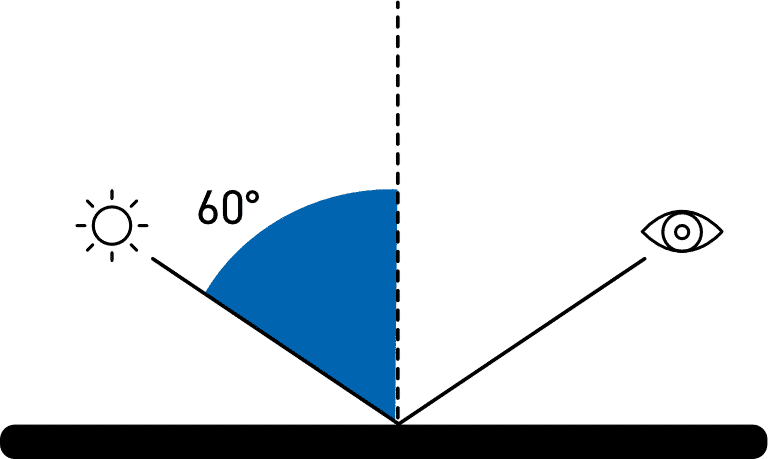
All gloss levels can be measured using the standard measurement angle of 60°. This is used as the reference angle with the complimentary angles of 85° and 20° often used for low and high gloss levels respectively.
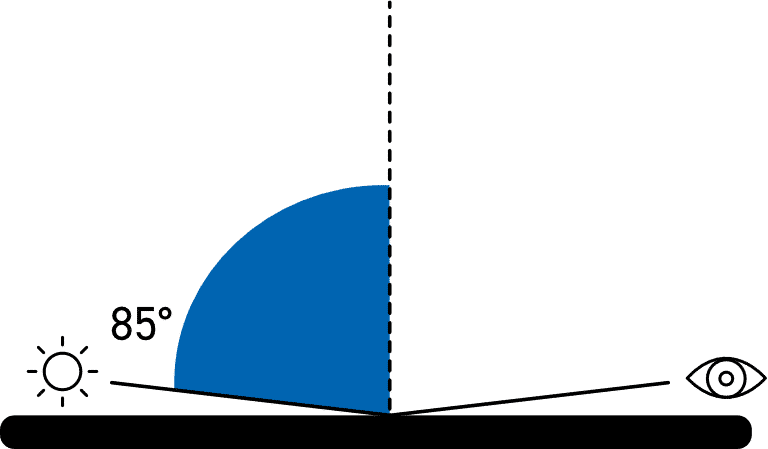
For improved resolution of low gloss a grazing angle of 85° is used to measure the surface. This angle is recommended for surfaces which measure less than 10GU when measured at 60°.
This angle also has a larger measurement spot which will average out differences in the gloss of textured or slightly uneven surfaces.
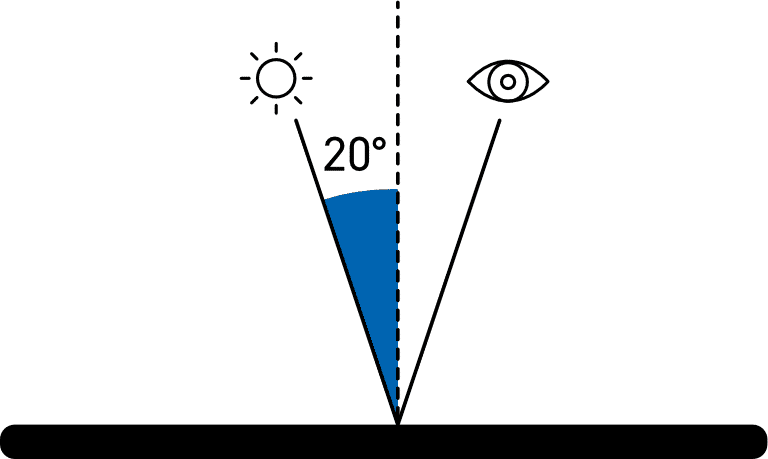
The acute measurement angle of 20° gives improved resolution for high gloss surfaces. Surfaces that measure 70GU and above at the standard angle of 60° are often measured with this geometry.
The 20° angle is more sensitive to haze effects that affect the appearance of a surface.

This measuring angle is in accordance with the ISO 2457 standard for the gloss measurement of plastic films and solid plastic parts as well as according to the standard ASTM C346 for the gloss measurement of ceramics

All gloss levels can be measured using the standard measurement angle of 60°. This is used as the reference angle with the complimentary angles of 85° and 20° often used for low and high gloss levels respectively.

For improved resolution of low gloss a grazing angle of 85° is used to measure the surface. This angle is recommended for surfaces which measure less than 10GU when measured at 60°.
This angle also has a larger measurement spot which will average out differences in the gloss of textured or slightly uneven surfaces.

The acute measurement angle of 20° gives improved resolution for high gloss surfaces. Surfaces that measure 70GU and above at the standard angle of 60° are often measured with this geometry.
The 20° angle is more sensitive to haze effects that affect the appearance of a surface.
To quantify haze, distinctness of image, reflected image quality and other surface texturing please consider the Rhopoint IQ.
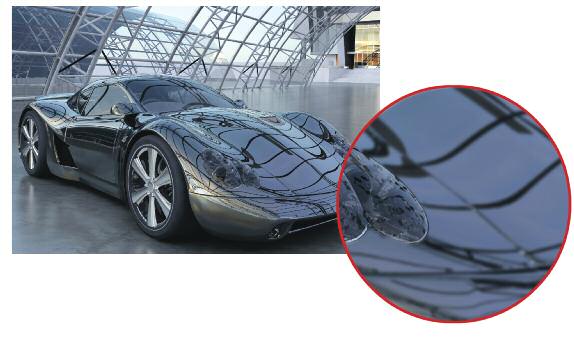
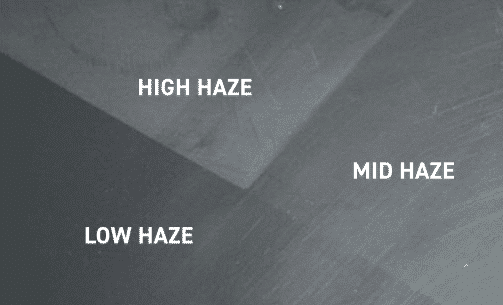
In the coatings industry, this microscopic surface texture is often due to poorly dispersed raw materials, incompatible raw materials or oxidisation and weathering. For polished metal surfaces, haze is often associated with polishing marks or chemical residue.
Haze is light that has been reflected by small surface structures adjacent to the main specular component.
Reflectance haze – An optical effect caused by microscopic texture or residue on a surface.
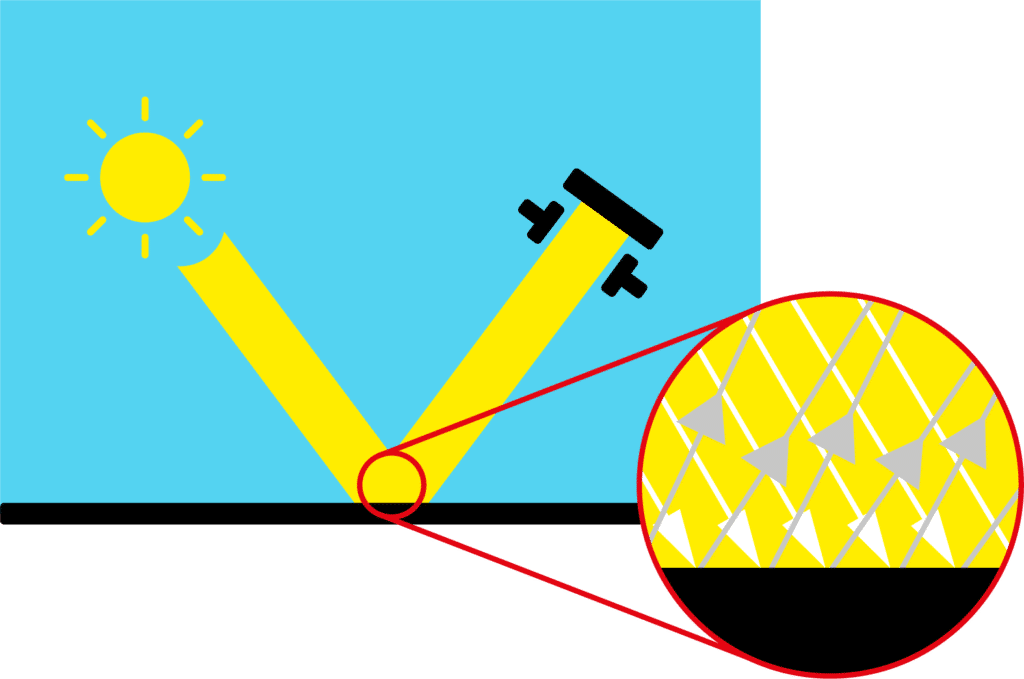
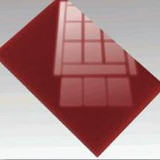
Reflection haze is an optical phenomenon usually associated with high gloss surfaces.
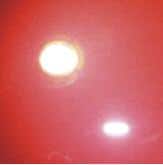
It is a common surface fault that reduces appearance quality. A hazy surface has a visibly shallower reflection with a milky finish and halos appear around reflections of strong light sources.



The Novo-Gloss 20/60/85 version with haze uses a 512 element linear diode array which profiles reflected light in a large arc from 14° to 27°.
The instrument processes this high resolution data, selecting individual elements within the array that equate to the angular tolerances outlined in international measurement standards.
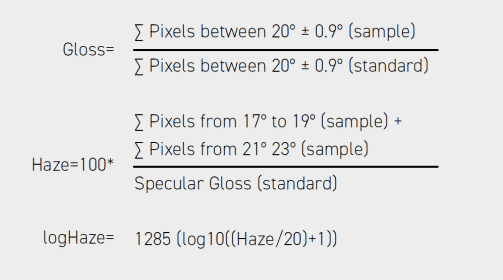
A major advantage of the Novo-Gloss 20/60/85 version with haze is that it automatically compensates for curved or textured sample surfaces by virtually adjusting the measurement position.
Conventional gloss-hazemeters have fixed optics which can make measurement unreliable as any sample curvature will reflect light away from the centre of the measurement sensor causing errors.
The Novo-Gloss 20/60/85 version with haze automatically adjusts the sensor position by detecting the peak of the reflected light. The laws of reflection state that the incident angle is equal to the reflection angle thus the peak equates exactly to the 20° gloss angle.
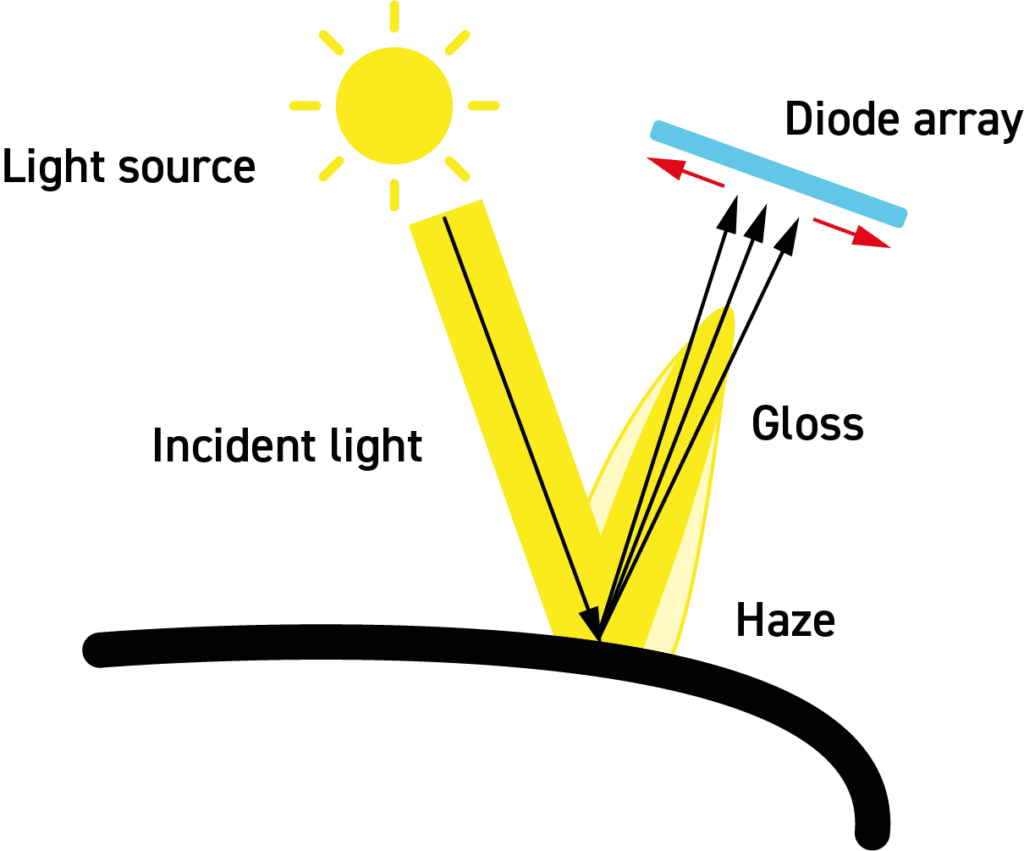
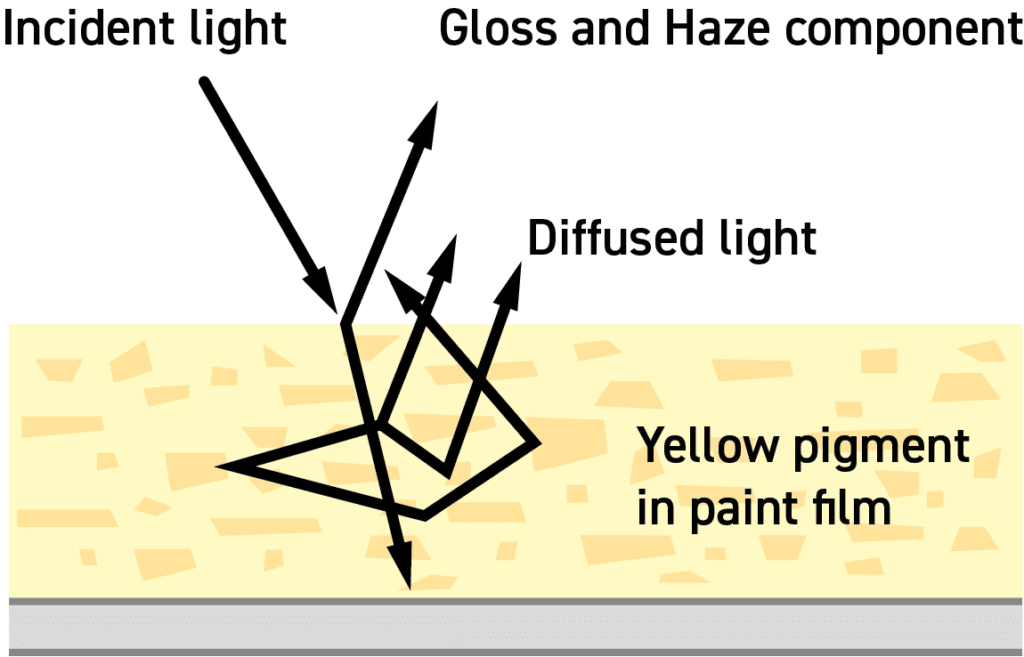
Reflection haze is caused by micro texture on a surface which causes a small amount of light to be reflected adjacent to the gloss angle.
For white surfaces, bright colours and metallics, a certain amount of diffuse light, reflected from within the material, is also present in this region.
This diffuse light exaggerates the haze signal for these surfaces causing higher than expected readings.
* Only enabled when the instruments is set to haze measuring mode of ASTM E430
For non metallic surfaces, the diffuse component is Lambertian: it is equal in amplitude at all angles in relation to the sample surface. Conventional gloss-hazemeters measure diffuse reflection using a luminosity sensor positioned away from the gloss angle. Luminosity is subtracted from the haze signal allowing non metallic surfaces to be measured independently of their colour.
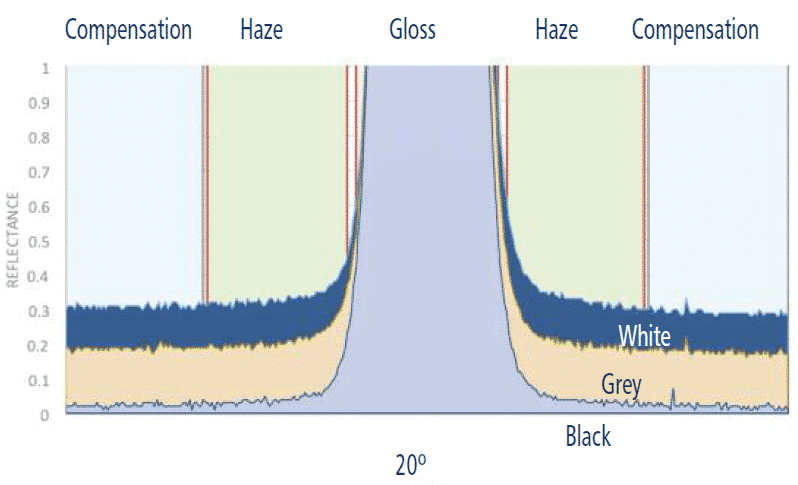
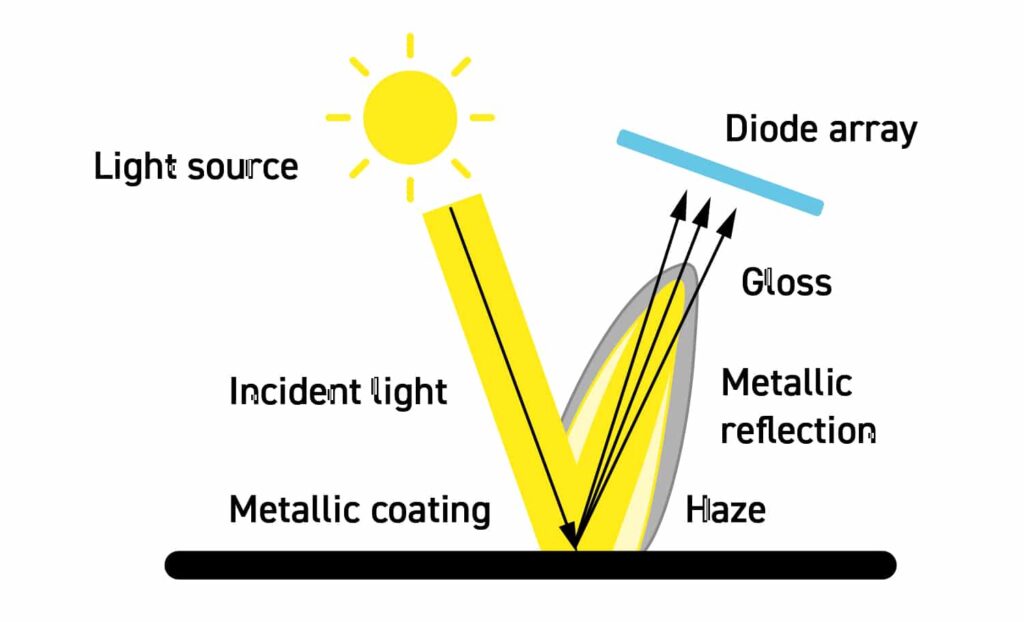
An advantage of the Novo-Gloss 20/60/85 version with haze is that unlike a conventional instrument, compensation is calculated using a region adjacent to the haze angle. This technique gives compatible readings on solid colours but also compensates for directional reflection from metallic coatings and speciality pigments.

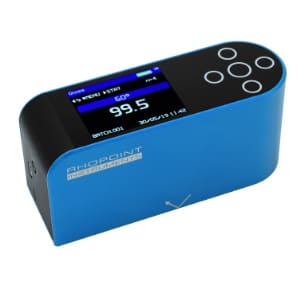
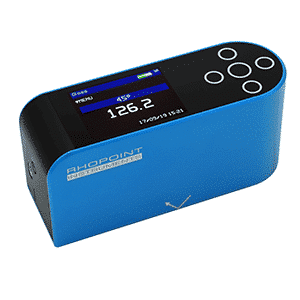
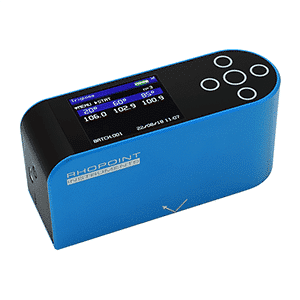

| Model | 20° Gloss HIGH GLOSS | 45° Gloss SPECIALTY ANGLE | 60° Gloss ALL GLOSS FINISHES | 85° Gloss LOW GLOSS FINISHES | Haze ASTM E430 | Haze ASTM D4039 |
|---|---|---|---|---|---|---|
| Novo-Gloss 60 | - | - | - | - | - | |
| Novo-Gloss 45 | - | - | - | - | - | |
| Novo-Gloss Trio | - | - | - | |||
| Novo-Gloss 20/60/85 with Haze | - |
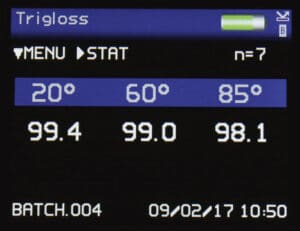
Simultaneous measurement of all parameters in GU or % reflectivity, date and time stamped.
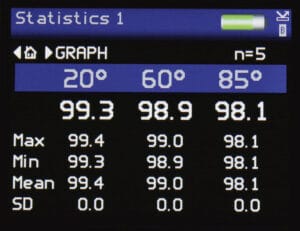
Displays full statistics for the readings in the current batch.
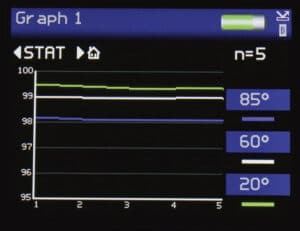
Graphical reporting for quick trend analysis.
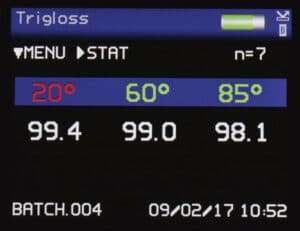
Pass / fail parameters can be defined for instant identification of non-conformances.
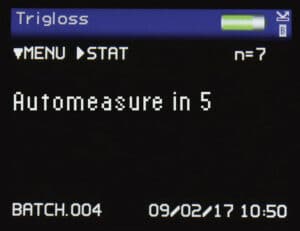
Automatic measurements at pre-defined intervals for easy checking of large surface areas.
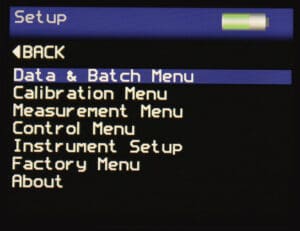
User definable batch names and batch sizes for quicker and more efficient reporting.
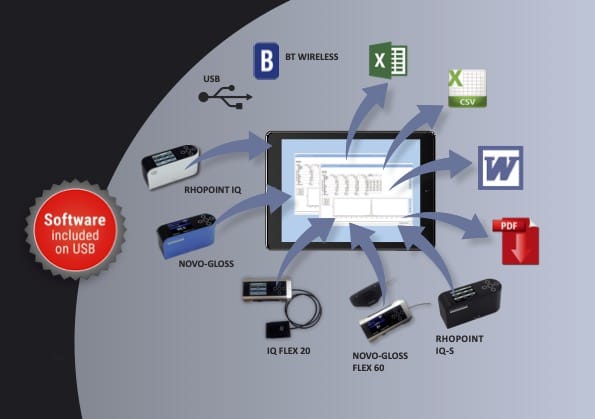
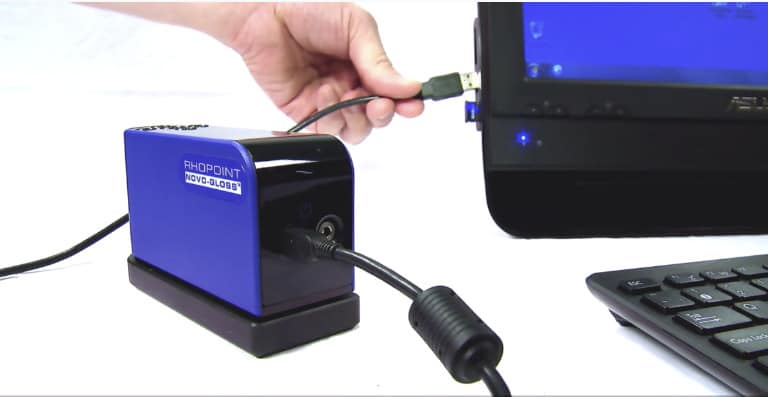
USB connection to PC instantly recognises the device as a drive location which facilitates the quick transfer of .CSV files using Windows Explorer or similar.
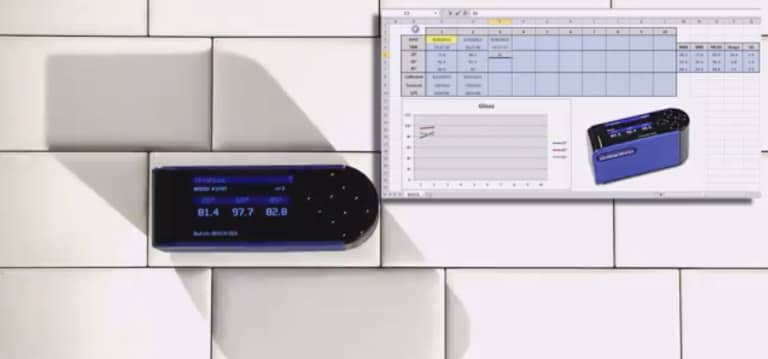
Instantly transmit measured readings directly to programs such as MS Excel on your PC / tablet to greatly simplify the reporting process.
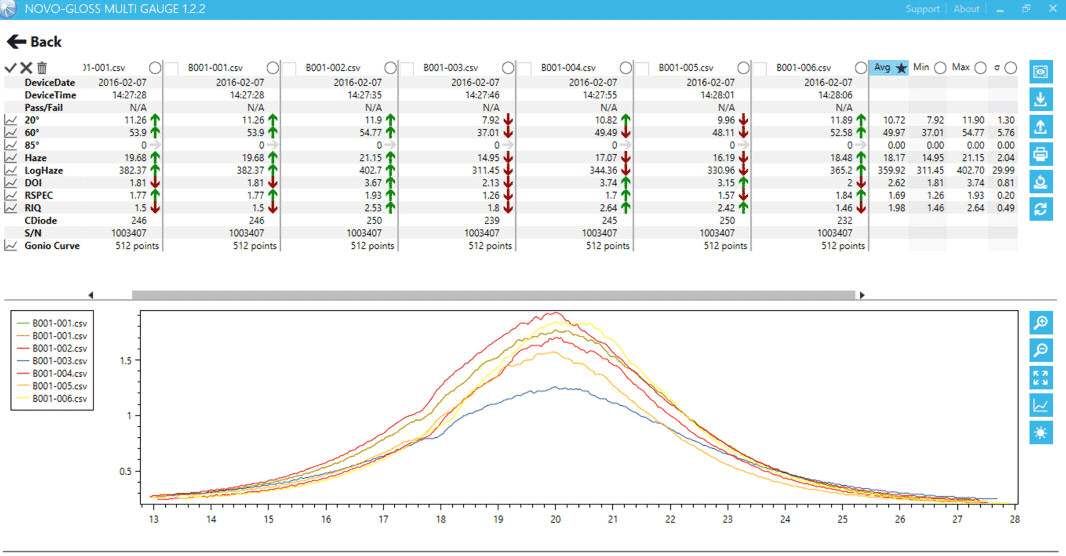
The included software provides an easy means to measure, import and compare data and export the measurements into several other file formats, e.g. PDF, Excel® or CSV.
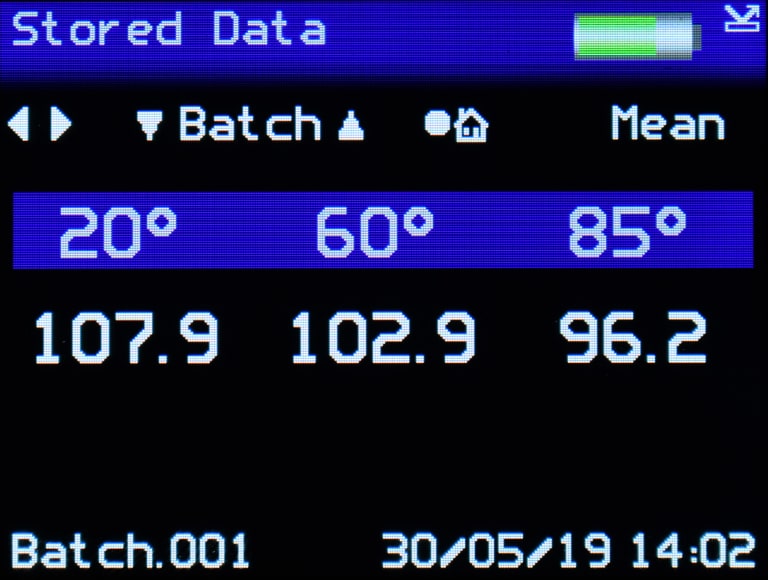
| 20° Gloss | ||||
|---|---|---|---|---|
| Range | 0 - 100 GU | 100 - 2000 GU | ||
| Repeatability | 0.2 GU | 0.2% | ||
| Reproducibility | 0.5 GU | 0.5% * | ||
| Resolution | 0.1 GU | |||
| Measurement Area | 6mm x 6.4mm | |||
| Standards | ISO 2813 | ASTM D523 | ISO 7668 | ASTM D2457 | DIN 67530 | JIS Z 8741 | |||
| 60° Gloss | ||||||
|---|---|---|---|---|---|---|
| Range | 0 - 10 GU | 10 - 100 GU | 100 - 1000 GU | |||
| Repeatability | 0.1 GU | 0.2 GU | 0.2% | |||
| Reproducibility | 0.2 GU | 0.5 GU | 0.5% * | |||
| Resolution | 0.1 GU | |||||
| Measurement Area | 6mm x 12mm | |||||
| Standards | ISO 2813 | ASTM D523 | ISO 7668 | ASTM D2457 | DIN 67530 | JIS Z 8741 | |||||
| 85° Gloss | ||||
|---|---|---|---|---|
| Range | 0 - 100 GU | 100 - 199 GU | ||
| Repeatability | 0.2 GU | 0.2% | ||
| Reproducibility | 0.5 GU | 0.5% * | ||
| Resolution | 0.1 GU | |||
| Measurement Area | 4.4mm x 44mm | |||
| Standards | ISO 2813 | ASTM D523 | ISO 7668 | ASTM D2457 | DIN 67530 | JIS Z 8741 | |||
| Haze | ||
|---|---|---|
| Range | 0 - 500 Log HU | |
| Repeatability | 1 Log HU | |
| Reproducibility | 10 Log HU | |
| Resolution | 0.1 Log HU | |
| Measurement Area | 6mm x 6.4mm | |
| Standards | ASTM E430 | ASTM D4039 | ISO 13803 | |
| Instrument Information | ||
|---|---|---|
| Battery Type | Rechargeable lithium ion | |
| Operation Time | 17+ hours | |
| Readings per Charge | 20,000+ | |
| Memory | 8MB, 2,000 readings | |
| Operating Temperature | 15°C - 40°C (60°F - 104°F) | |
| Operating Humidty | Up to 85% (non condensing) | |
| Commodity Code | 9027 5000 | |
| Dimension & Weights | ||
|---|---|---|
| Dimensions | 65mm (H) x 140mm (W) x 50mm (D) | |
| Instrument Weight | 390g | |
| Packed Weight | 1.6kg | |
| Packed Dimensions | 110mm (H) x 280mm (W) x 220mm (D) | |
| Order Codes | ||
|---|---|---|
| Novo-Gloss 60 | A4000-008.2 | |
| Novo-Gloss Trio 20/60/85 | A4000-006.2 | |
| Novo-Gloss 20/60/85 with Haze | A4000-009.2 | |
| Novo-Gloss 45 | A4000-011.2 | |
| Mirror Gloss Calibration Standard | B6000-101.1 | |
To ensure accurate and reliable results, Rhopoint Novo-Gloss Instruments are supplied with standards calibrated and certified according to ISO 17025 UKAS.
Free extended 2 year warranty: Requires registration at www.rhopointinstruments.com/help-services/forms-feedback/instrument-registration/ within 28 days of purchase. Without registration, 1 year standard warranty applies.
Guaranteed for the life of the instrument.
Fast and economic service via our global network of accredited calibration and service centres. Please visit www.rhopointinstruments.com/help-services/calibration-servicing/ for detailed information.
| Included Accessories | ||
|---|---|---|
| Certificates: | Instrument calibration certificate ISO 17025 UKAS tile calibration certificate | |
| Cables: | USB data & mains cable Wrist strap | |
| USB Containing: | Instruction manual Bluetooth data app Example Excel spreadsheets Instructional videos | |
| Calibration Tile | High gloss calibration tile with cleaning cloth | |
| Sample Positioning Templates | ||
| Quick Start Guide | ||
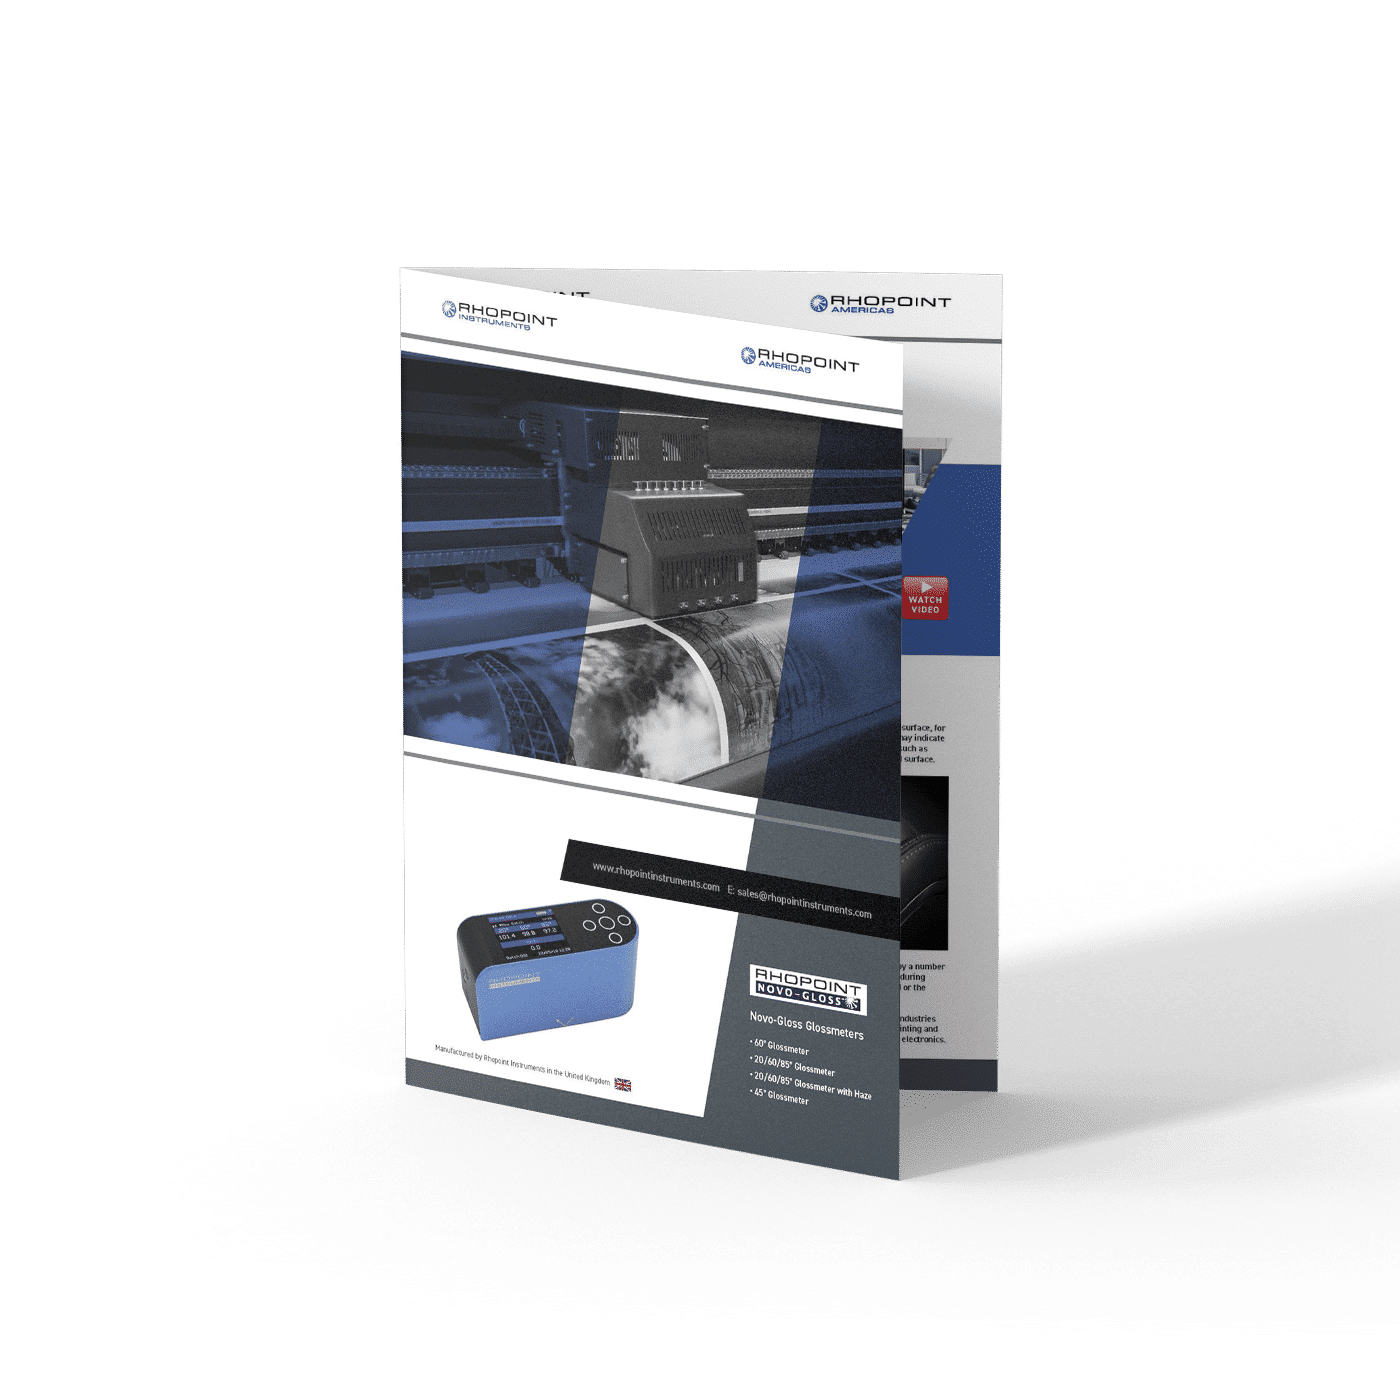
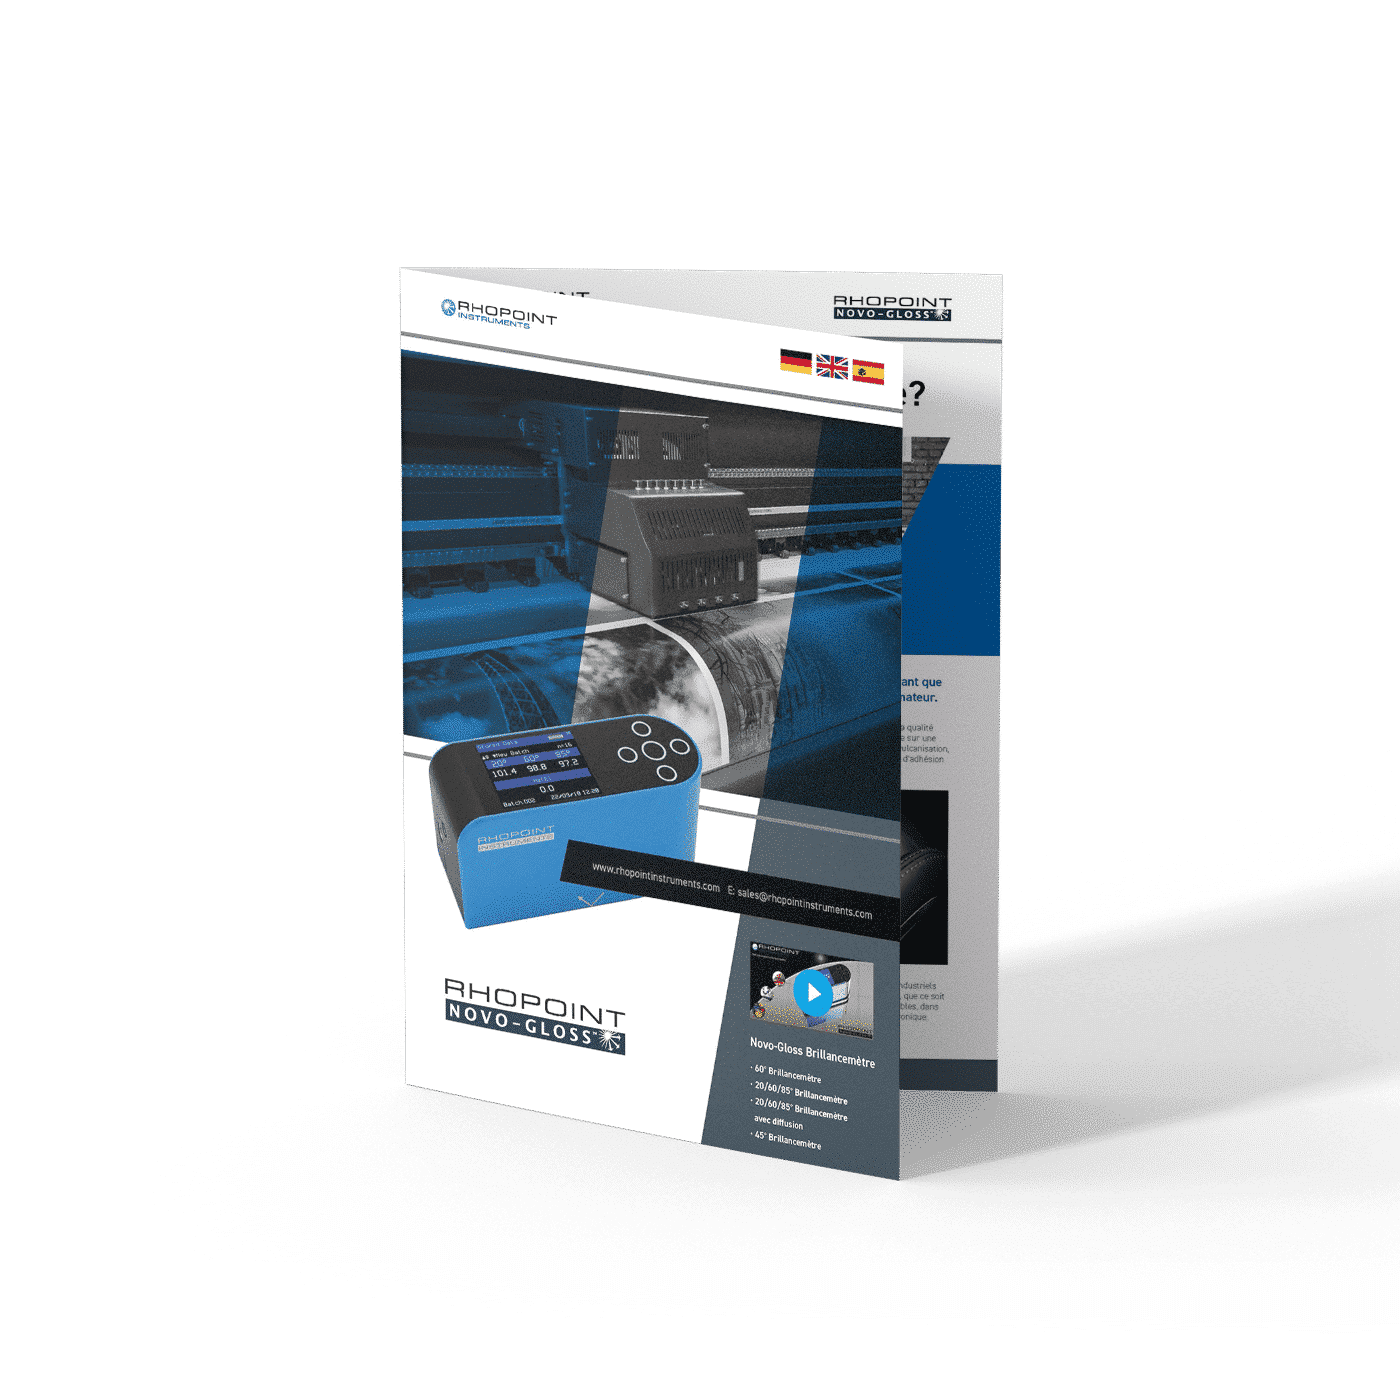


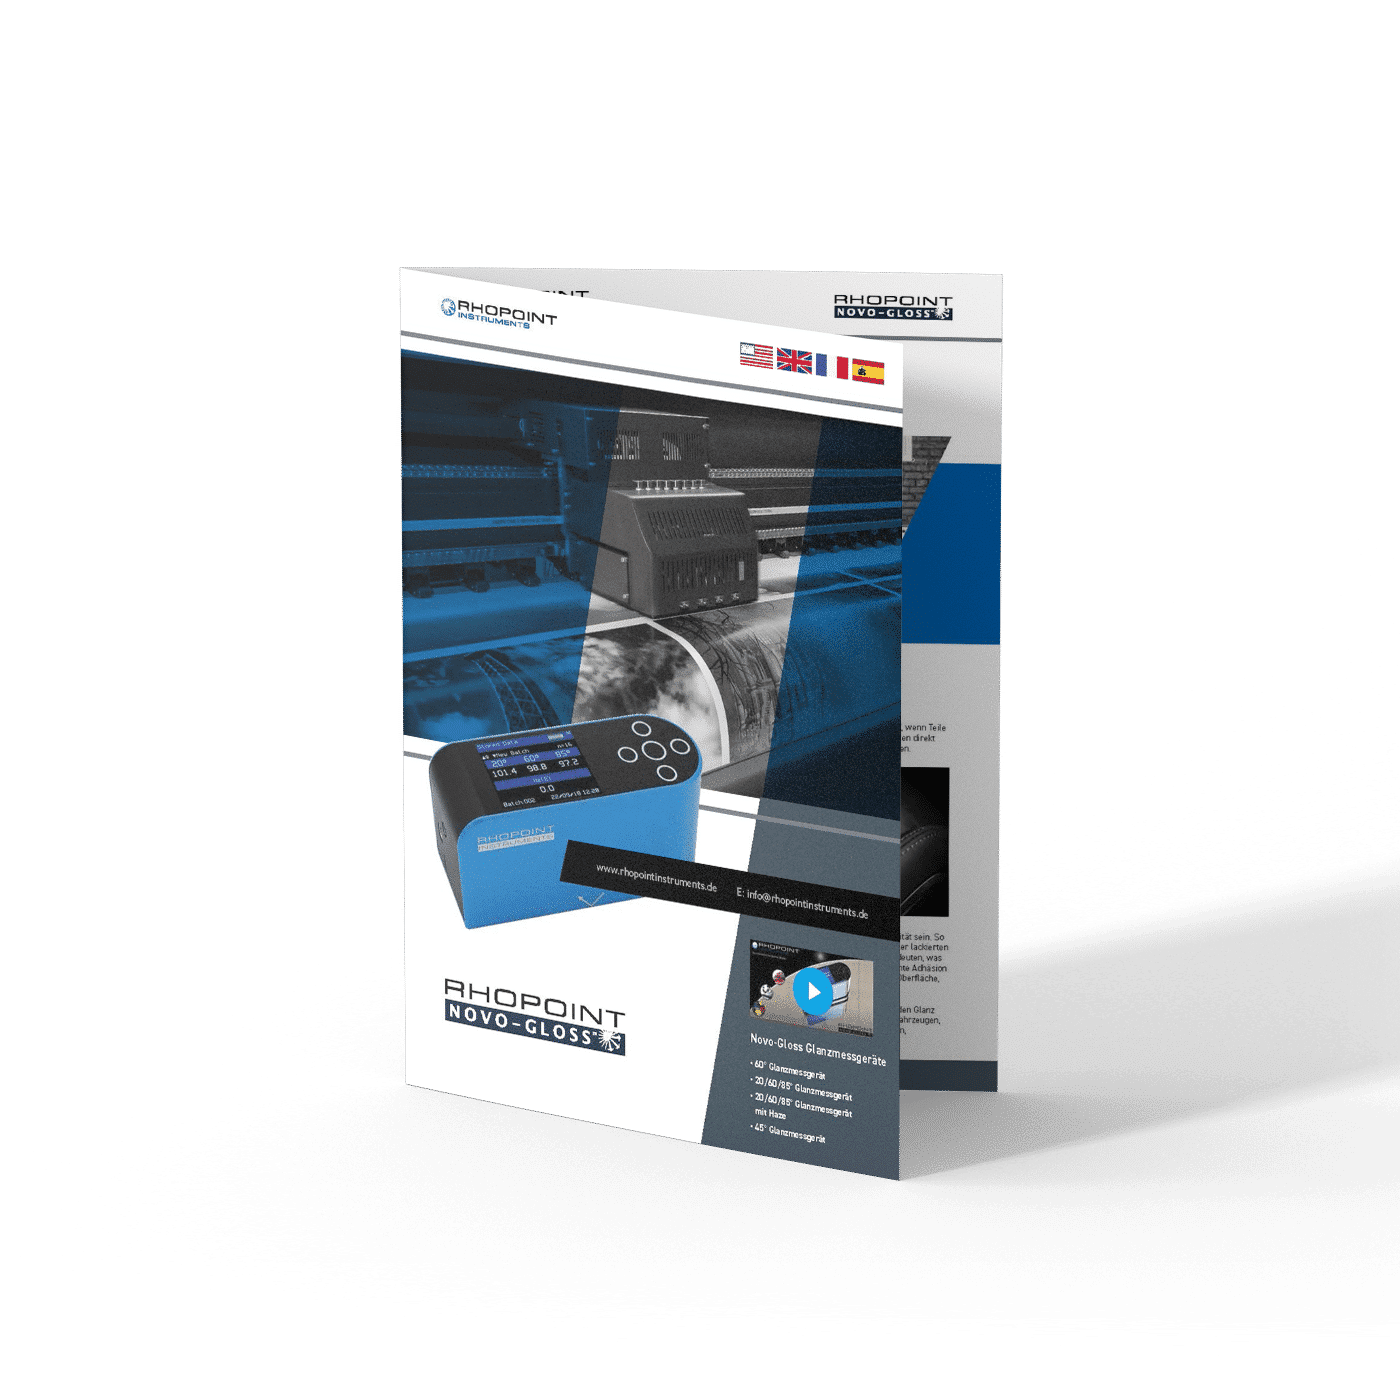
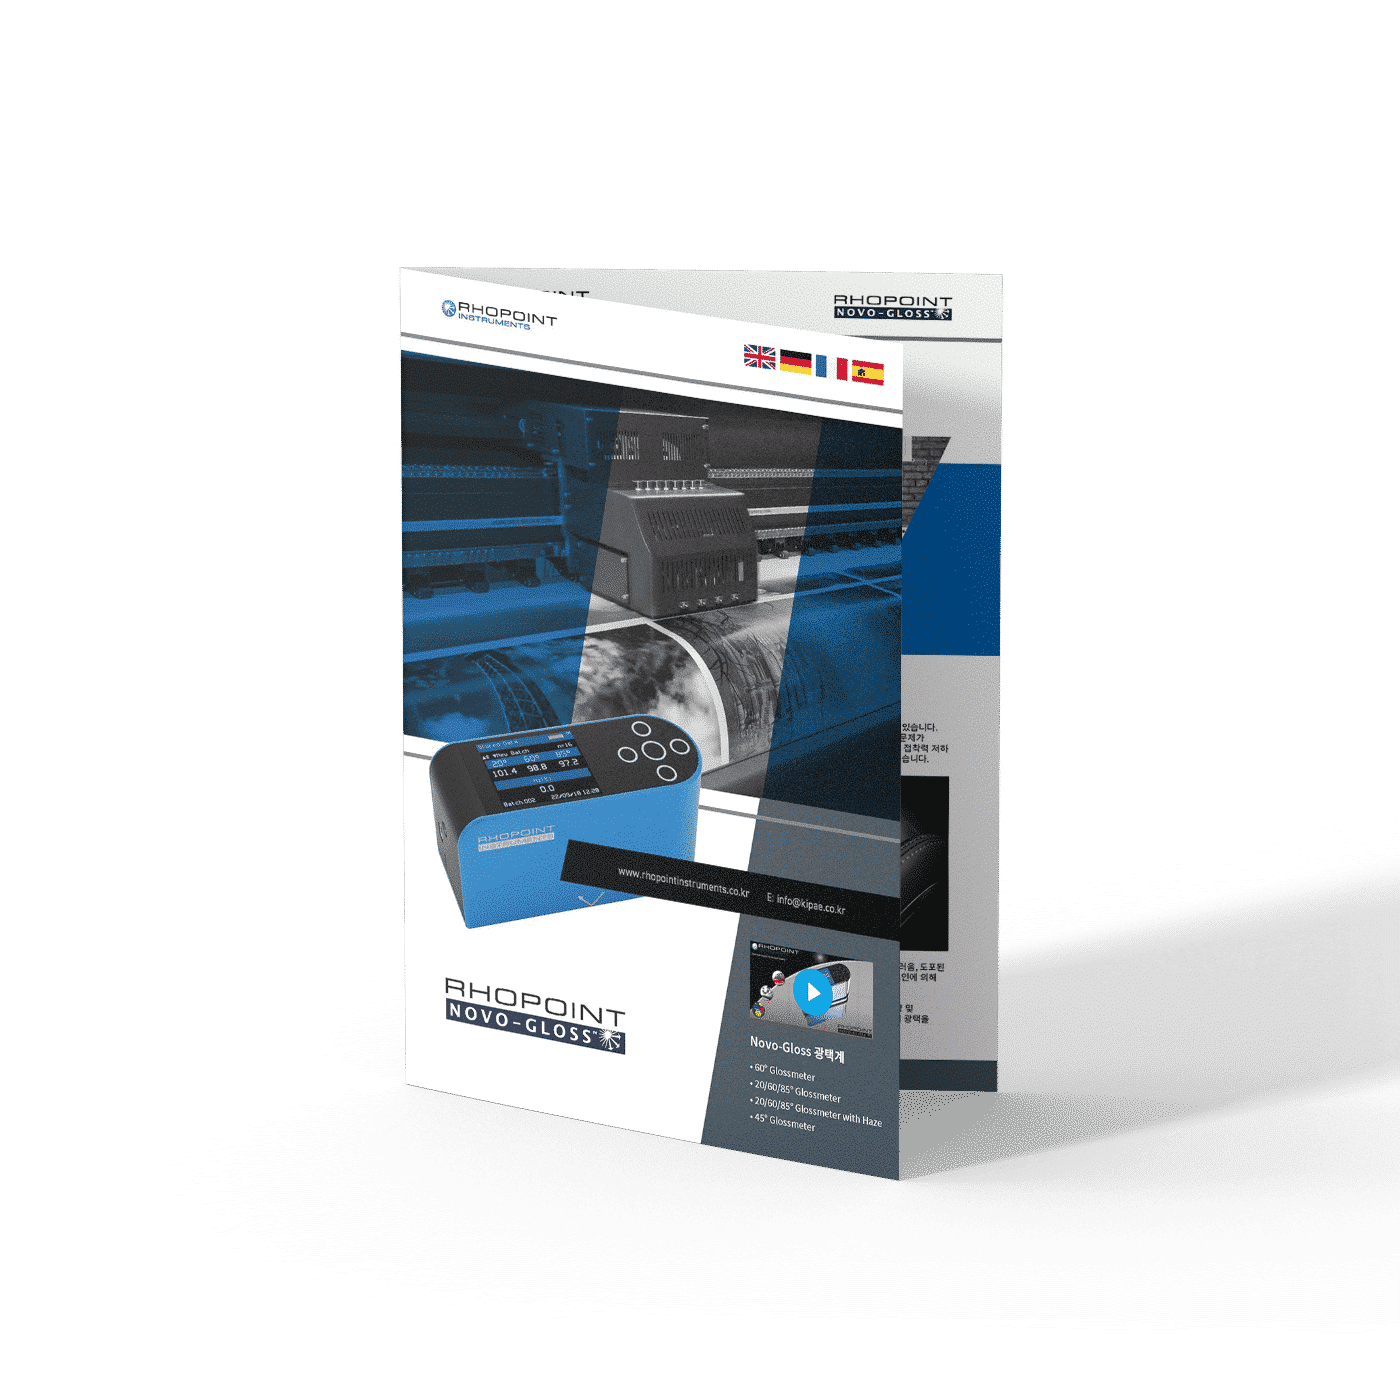
Gloss is an aspect of the visual perception of objects that is as important as colour when considering the psychological impact of products on a
Identify the surface that you wish to measure. Is it a flat surface? If so, it can be measured with a traditonal glossmeter. Curved surfaces
RSpec is the peak reflectance measured over a very narrow angular band in the specular direction (+/-) 0.0991º. RSpec is very sensitive to any texture
Please note, this is NOT a quotation, just a confirmation of the price when purchased in the UK exclusive of VAT/duties
£2,980