Appearance & Measurement Experts since 1986
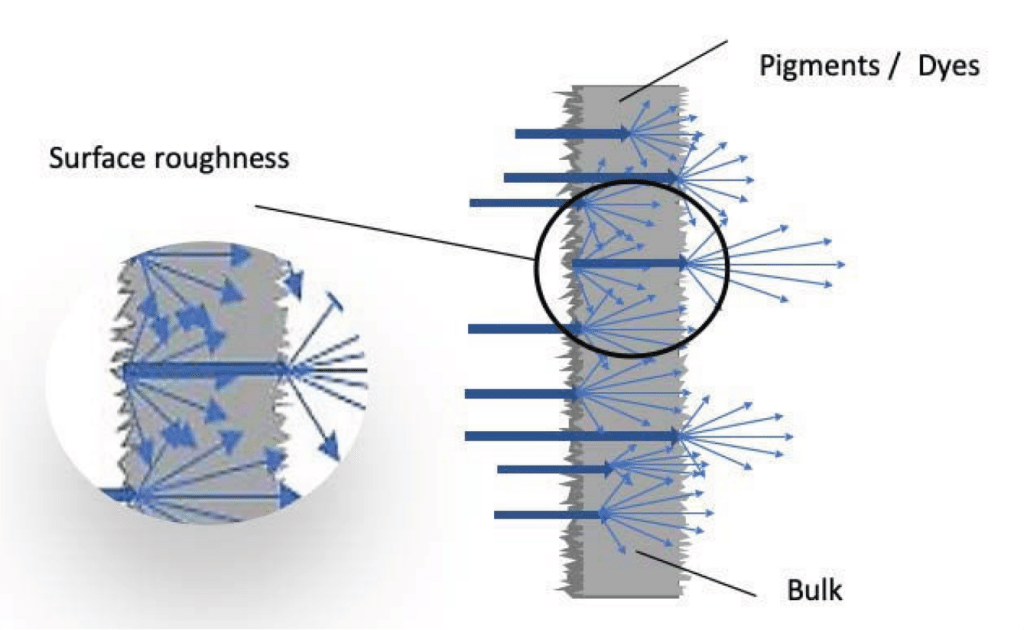
The visual quality (Haze and Sharpness) of a transparent plastic material can be impaired by surface roughness and/or internal optical irregularities.
Surface roughness is often imparted to the material during manufacture, similarly internal irregularities can be due to due to crystallization or caused by inhomogeneities (i.e. density difference, fillers, pigments) in the material bulk.
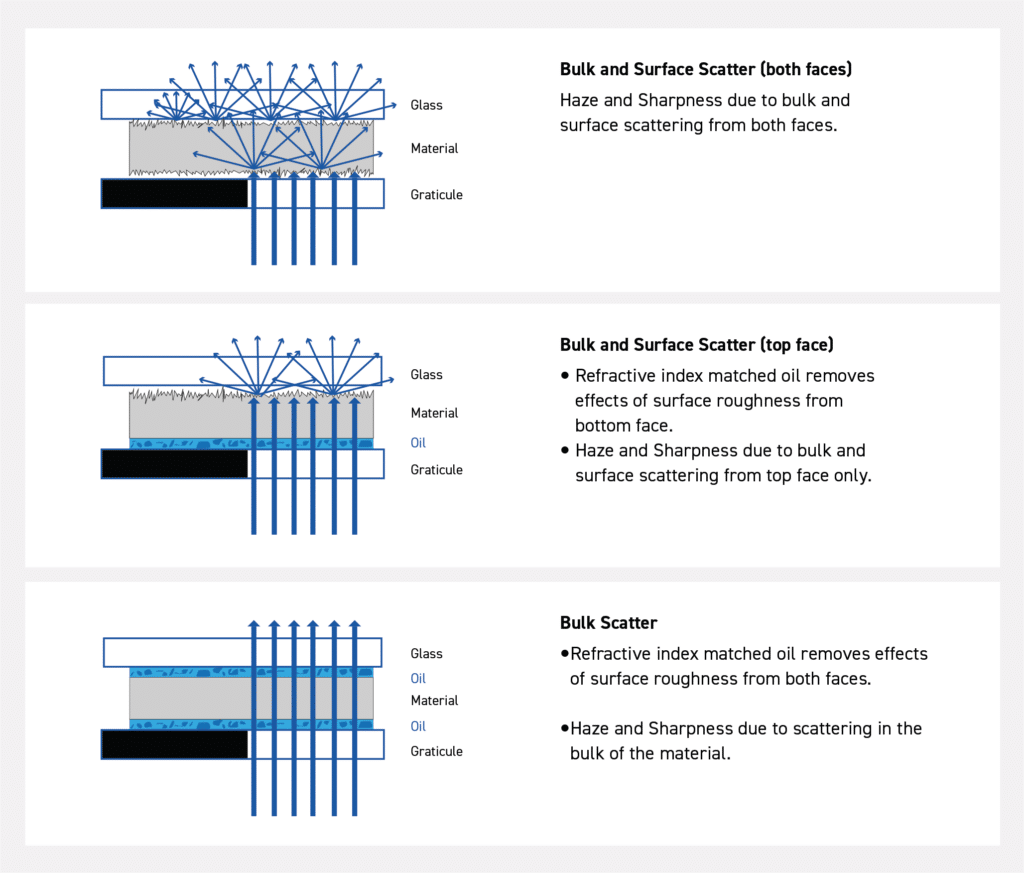
To improve processes or materials it is useful to identify exactly where the reduction in optical quality originates. The ID Surface roughness test can isolate and measure the effects of surface roughness on each side as well as the effects of bulk scatter in the material.
The surface properties of a cast film can be affected by the condition of the chill roll used to cool the material after extrusion and the temperature control during the cooling process.
The extrusion process
1 The extrusion process for making blown polyethylene film and bags starts with pushing the molten plastic through an annular slit die to form a continuous thin walled tube of plastic called a bubble.
2 The bubble is inflated with air to the desired diameter and drawn vertically up a tower through a high-speed air ring which cools it before passing through nip rolls where it is flattened to its lay-flat width.
3 The collapsed lay-flat tube is then transported back down the tower by external rollers. The thickness of the film is controlled by the speed at which it is pulled from the die. The width of the film is controlled by the amount of air that is inserted in the bubble. As blown film freely flows during the process surface roughness is mainly caused by the melt-flow characteristics and crystallization of the material during cooling.
4 It is therefore essential that in-process controls are optimised to ensure consistent product quality; the surfaces of the slit dies and chill rollers should be consistently free from wear or damage and the plastic melt homogeneity, blow-up ratio and cooling rate should be correctly controlled.

As film manufacture is a high-speed process it is critical that any quality problems are identified quickly to reduce wastage
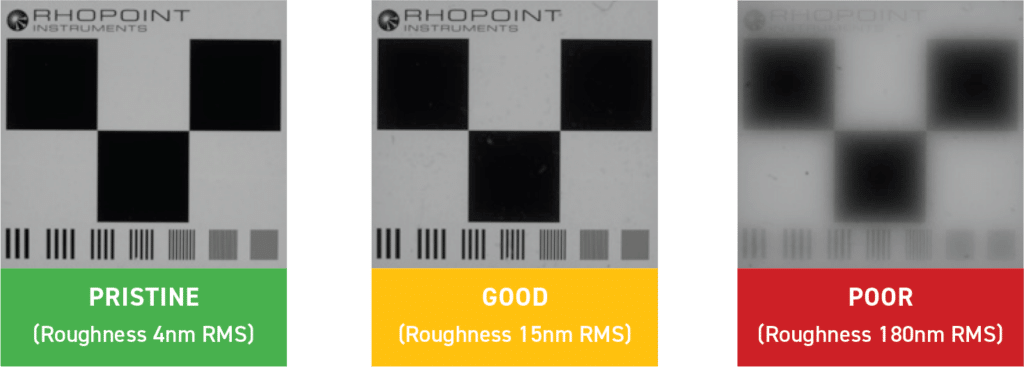
Example – PMMA Film roughness
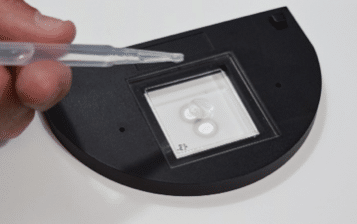
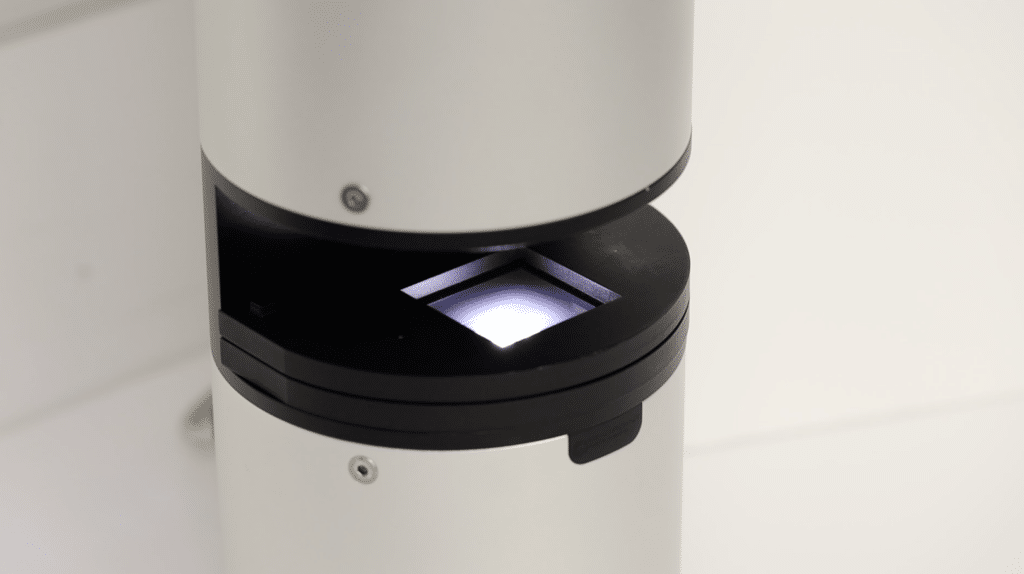
STEP 2: The two-piece accessory allows plastic film samples to be trapped within two optically clear glass slides mounted in the unit.
Low viscosity oil is used to remove any surface roughness from each side of the film in turn to identify which side has surface roughness present.

One half of the analysis plate without sample is mounted onto the Rhopoint ID and the unit tared.
A small amount of oil is applied to the glass slide in the analysis plate and the film placed on top and moved to ensure no air bubbles are present underneath.
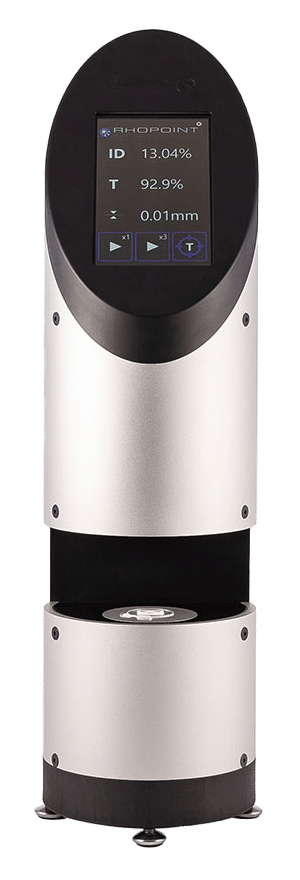
STEP 3: The analysis plate is placed into the Rhopoint ID measurement aperture and a measurement is taken.
Example – PMMA Film roughness
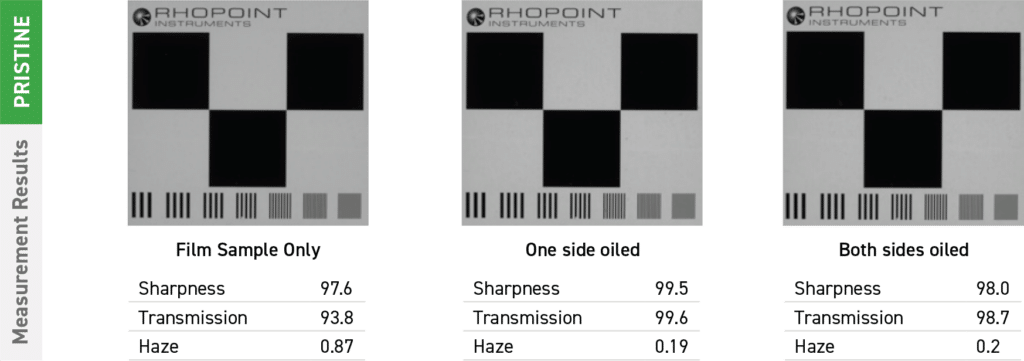
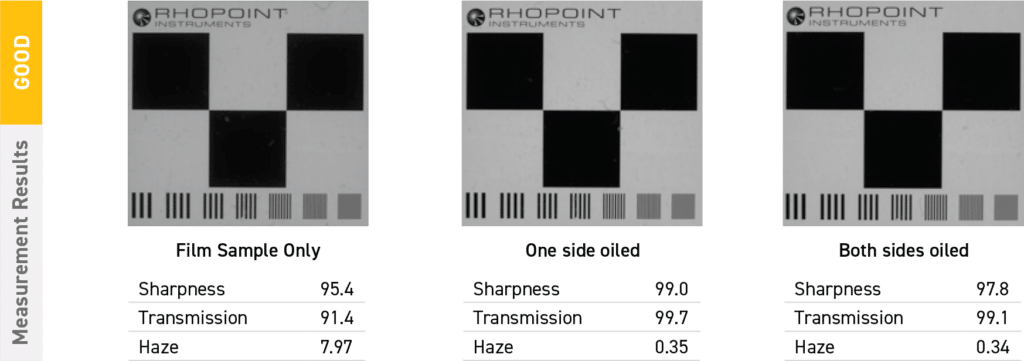
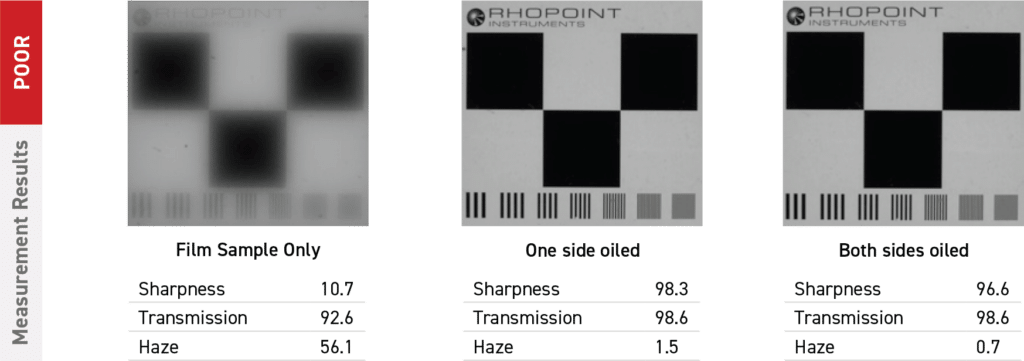
The haze value for the POOR film sample only was very high and with oil applied to one side this dropped significantly indicating surface roughness was present on this side. Sharpness also increased. With oil applied to the other side the haze value dropped further indicating that there was a much smaller amount of surface roughness present.
As the etched film samples tested were produced from the same material there was no noticeable change in the Sharpness value of the oiled material measurements indicating a consistency in bulk properties.