Why measure gloss?
Gloss is an aspect of the visual perception of objects that is as important as colour when considering the psychological impact of products on a
The Hanatek Carton Force Analyser (CFA) measures the forces that limit the running speed of folding box board packaging.
By measuring the stiffness of the substrate and crease bending resistance, the user can optimise cartons for faster running and packaging speeds. The instrument allows individual creases to be analysed identifying problem areas in packaging design or manufacture.
Industry research indicates that the packaging speeds of pre-glued skillets is governed by the energy required to open creases. The Hanatek CFA is the first instrument to isolate and accurately measure this key parameter.
The instrument has pre-loaded test instructions that ensure samples are tested to international standards.
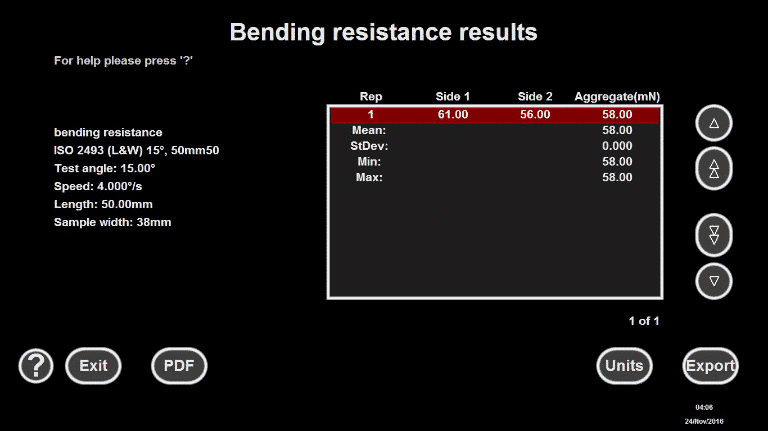
Measures the stiffness of the board sample to ISO 2493. The stiffness of the sample is measured twice, once with the printed side of the carton facing forward and the second time with the printed side facing to the rear.
The resultant force is displayed in N, gF or mN. The average of the two measurements is calculated as well as the Min, Max and standard deviation on a multiple sample test.
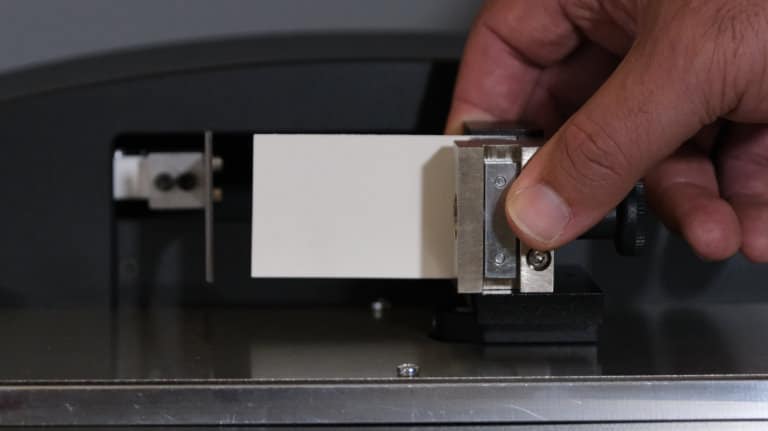
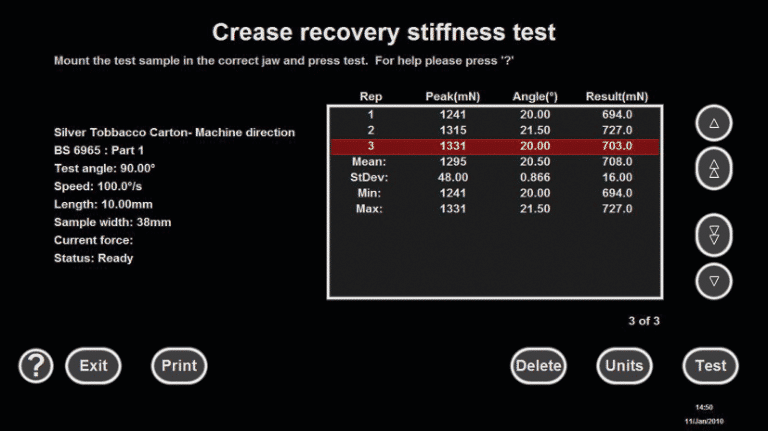
Measures the crease recovery to BS 6965. During the test, the Instrument will fold the crease under test through the preselected crease angle and hold it there for a pre‐determined number of seconds. It will then measure the force exerted on the crease as the instrument rotates the sample throughout the desired test angle.
The peak force is displayed as well as the angle that this force was reached. The resultant force is displayed in N, gF or mN. The average measurement is calculated as well as the Min, Max and standard deviation on a multiple sample test.
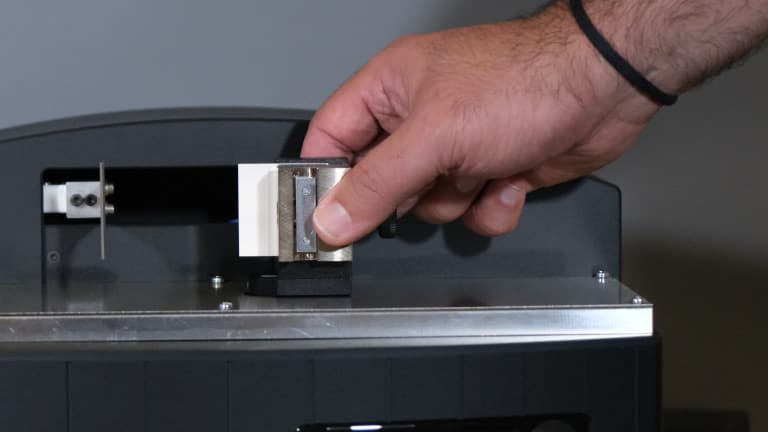
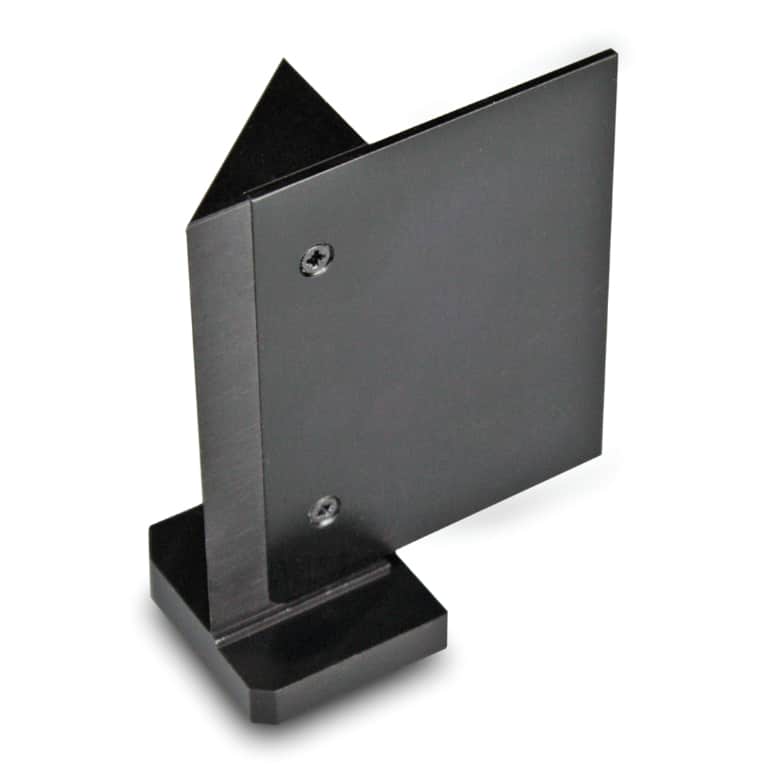
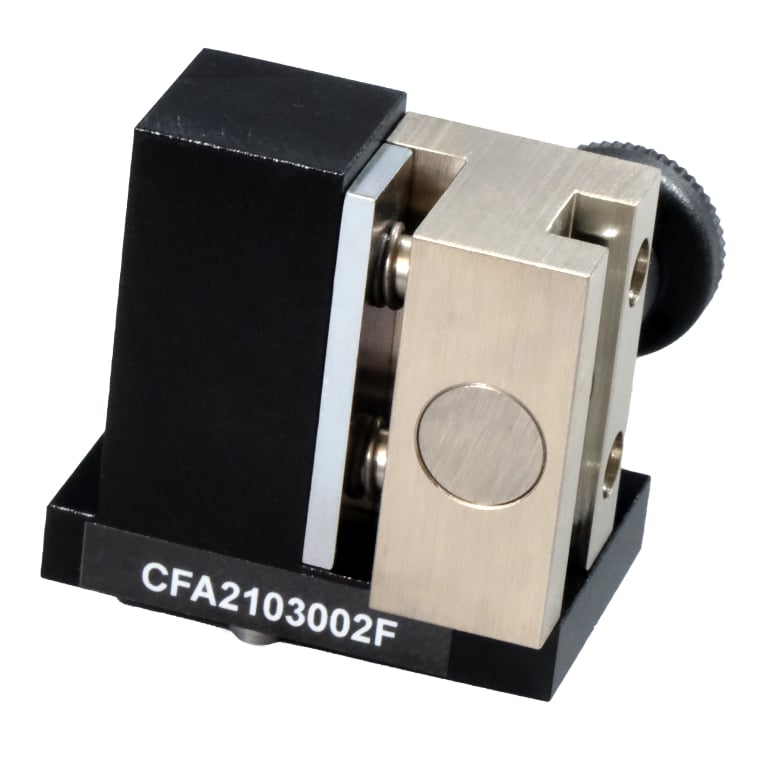
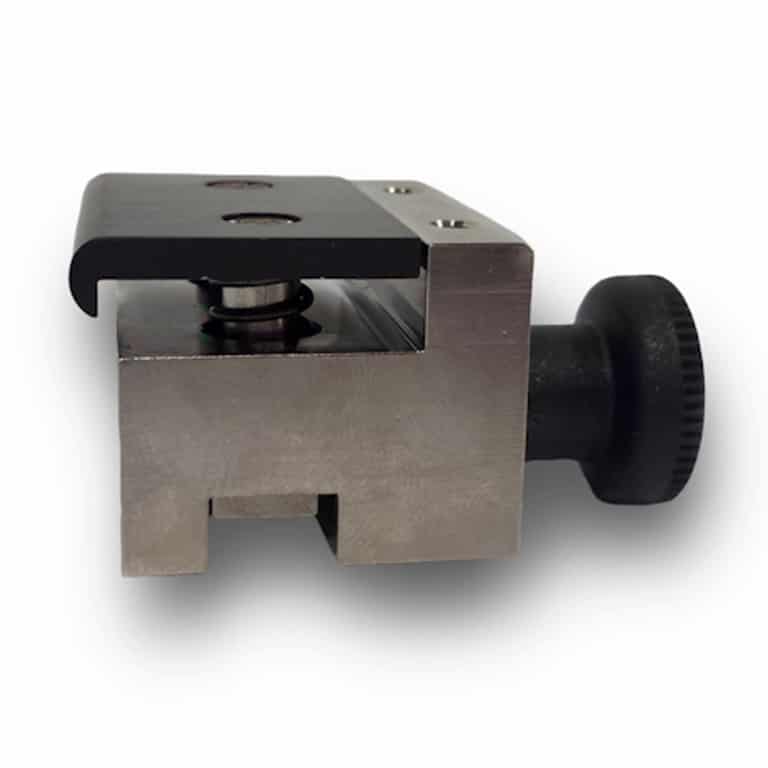
Rounded corner crease resistance: Rounded corner creases can be tested on the CFA (requires additional jaw).
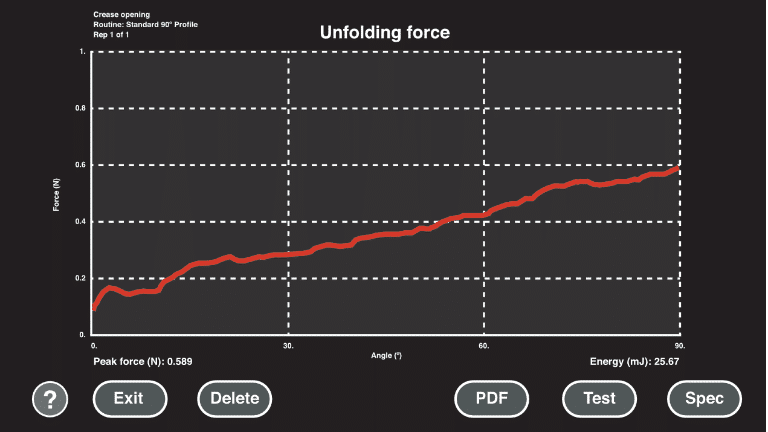
During the test the Instrument will un‐fold the crease under test through the preselected angle. The resultant force is displayed real time on the screen as the sample is rotated through the preselected test angle.
At the end of the test the resultant peak force is displayed in N as well as the energy in mJ required to bend the sample.
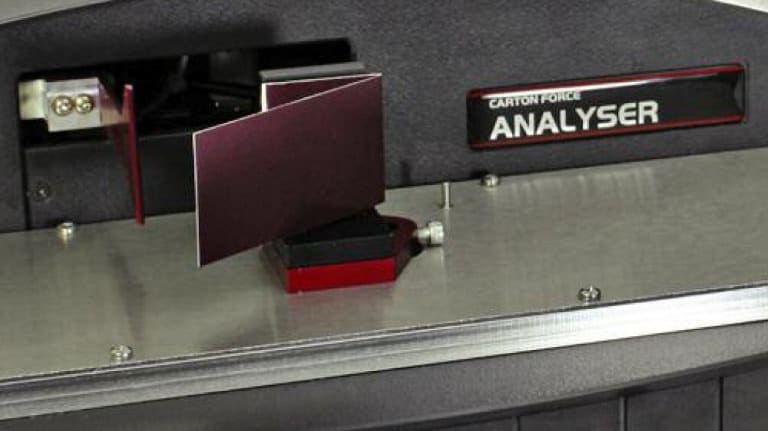
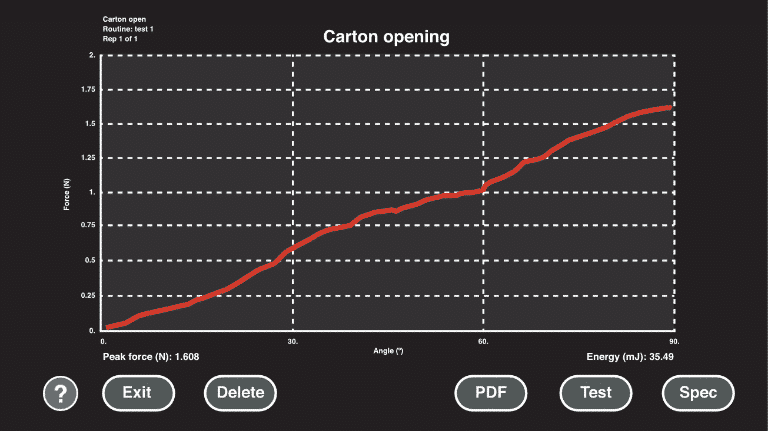
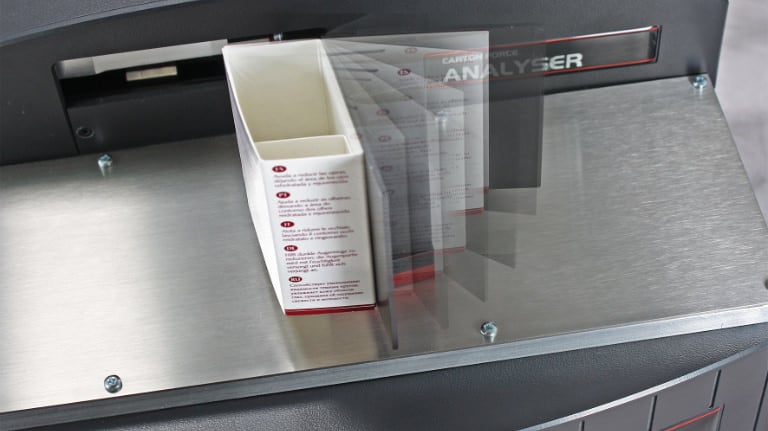
This test will record the forces involved in erecting a skillet into an open carton simulating the process during machine opening. This test also allows the user to identify cartons that will not run smoothly due to a poor ratio of crease to board stiffness.
The resultant force is displayed real time on the screen as the sample is rotated through the preselected test angle. At the end of the test the resultant maximum crease stiffness is displayed in N as well as the energy in mJ required to bend the sample.
The relationship between board stiffness and crease stiffness is an important factor in the running performance of cartons. This test will allow the user to quickly calculate the crease to board stiffness ratio by measuring both crease stiffness and board stiffness to the relevant standards. The Min, Max and standard deviation is also calculated on a multiple sample test.
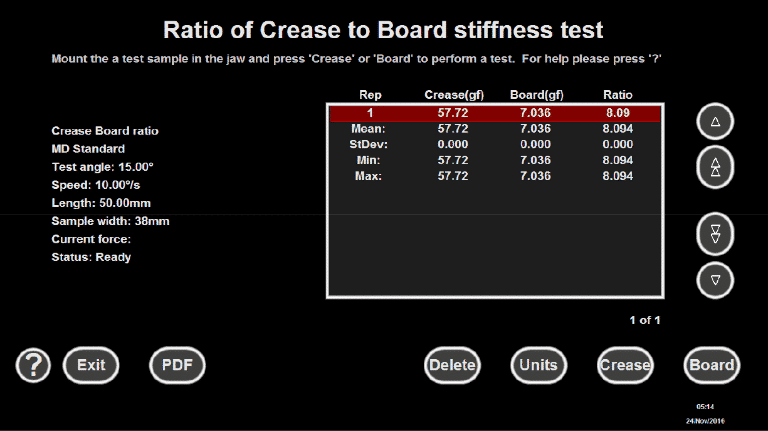
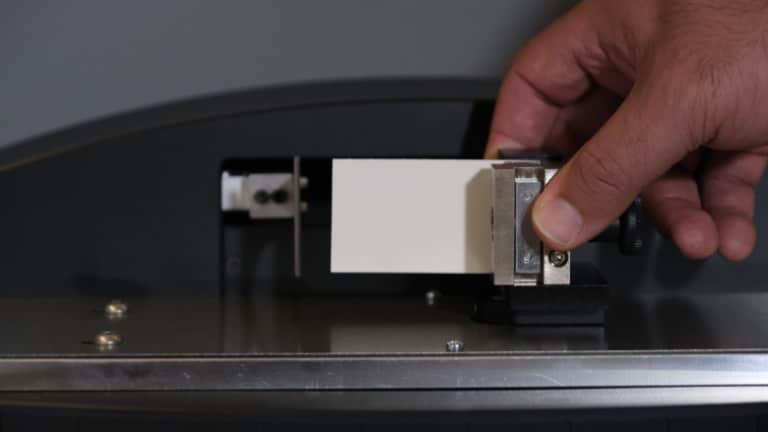
Measure the uncreased sample and the creased sample. Calculate the ratio between samples and the ‘work done’ in mJ using the force vs rotation information.
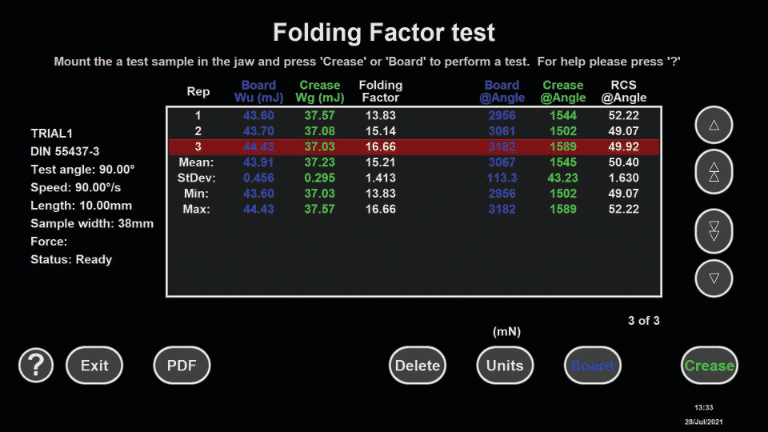
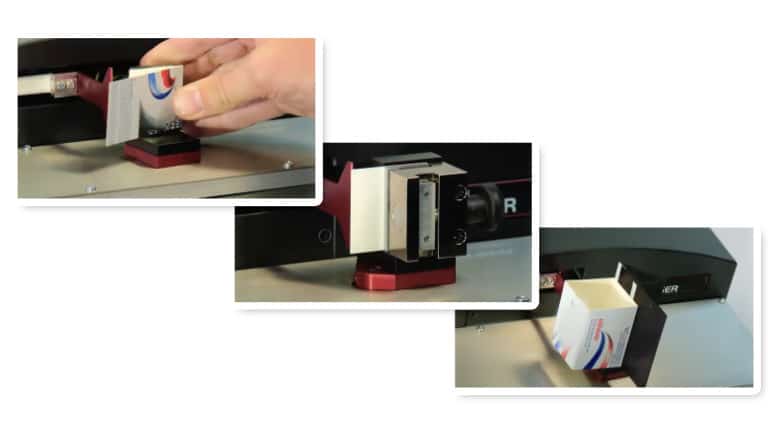
Automatic, user selectable speed of rotation. This removes errors associated with manual rotation.
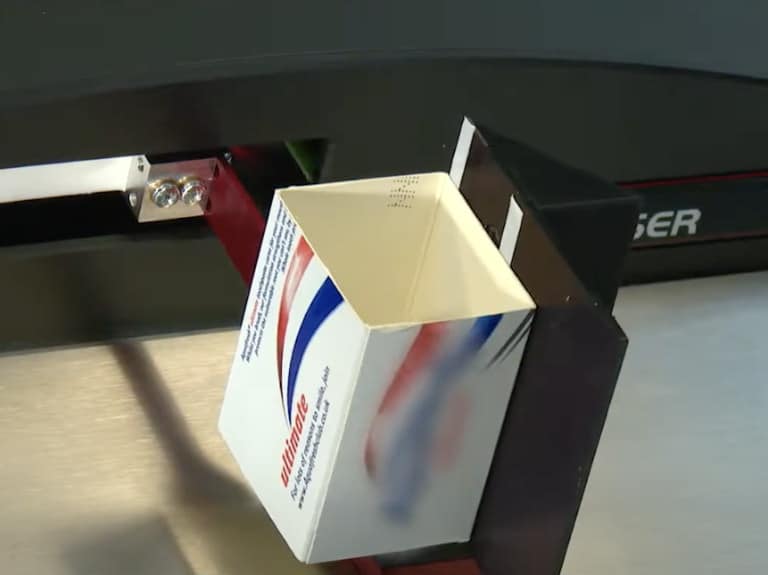
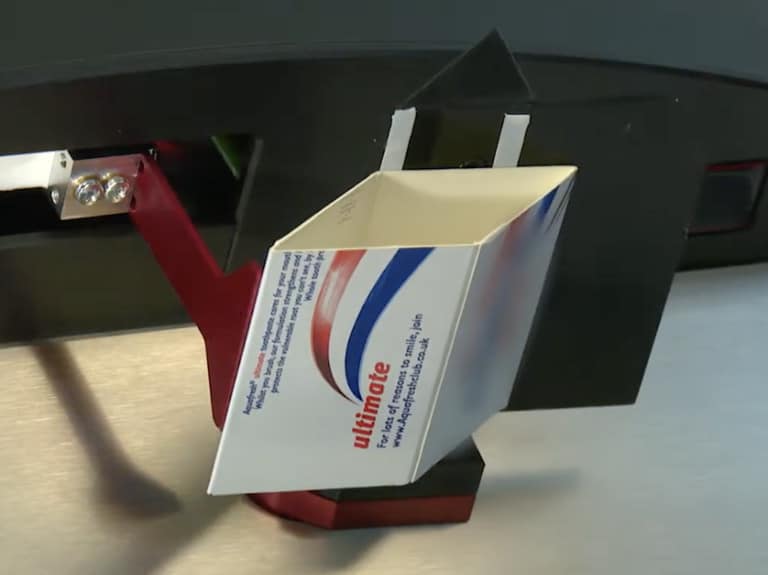
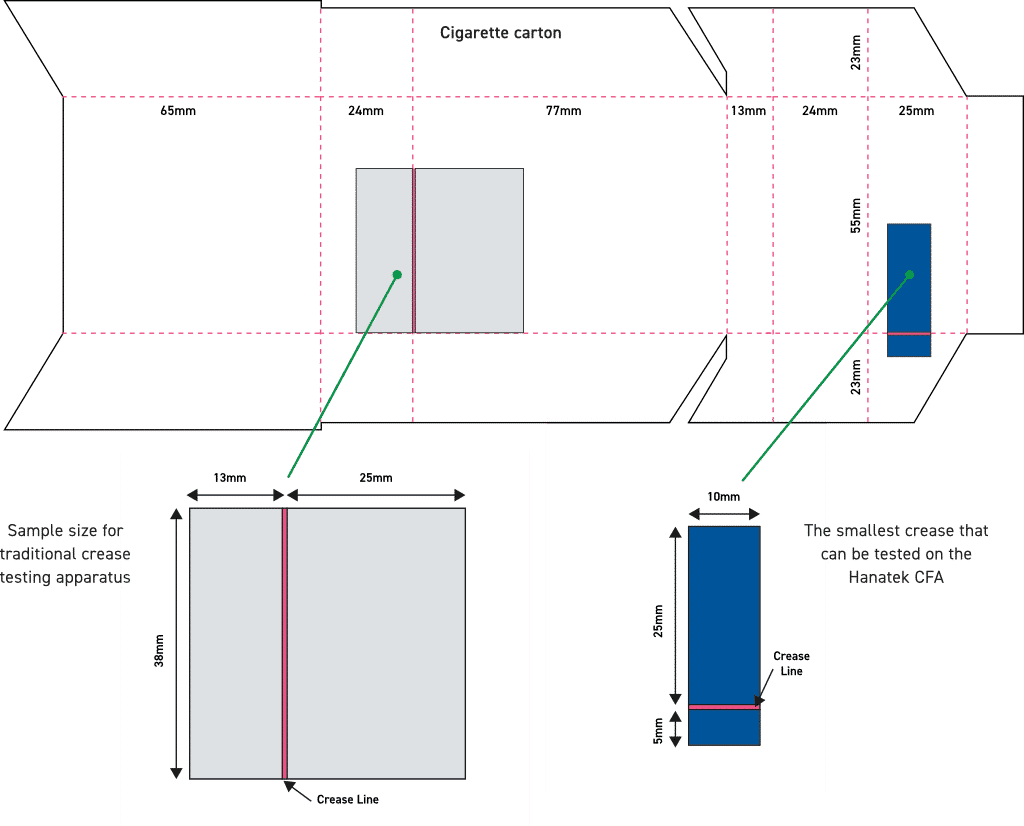
The CFA enables the smallest of creases to be analysed.
This flexible instrument can be configured for quality or research use. All operations and test methods have comprehensive graphical on-screen help.
Real time graphs detail the process of folding, showing increased crease resistance until board fibres break and the crease relaxes.
The CFA allows these fingerprints to be saved and overlaid, a powerful tool that allows detailed comparison of different crease formats, substrates and manufactured batches.
Tests performed on the Carton Force Analyser can be easily output to PDF for simple reporting and data storage. PDF files show full graphic information, test statistics as well as individual test results. In addition, full details of the forces detected by the load cell can be output to a .csv file (selected tests only).
The instrument can be added to a company network to facilitate simple data sharing and regular data back-up (requires operating system upgrade).
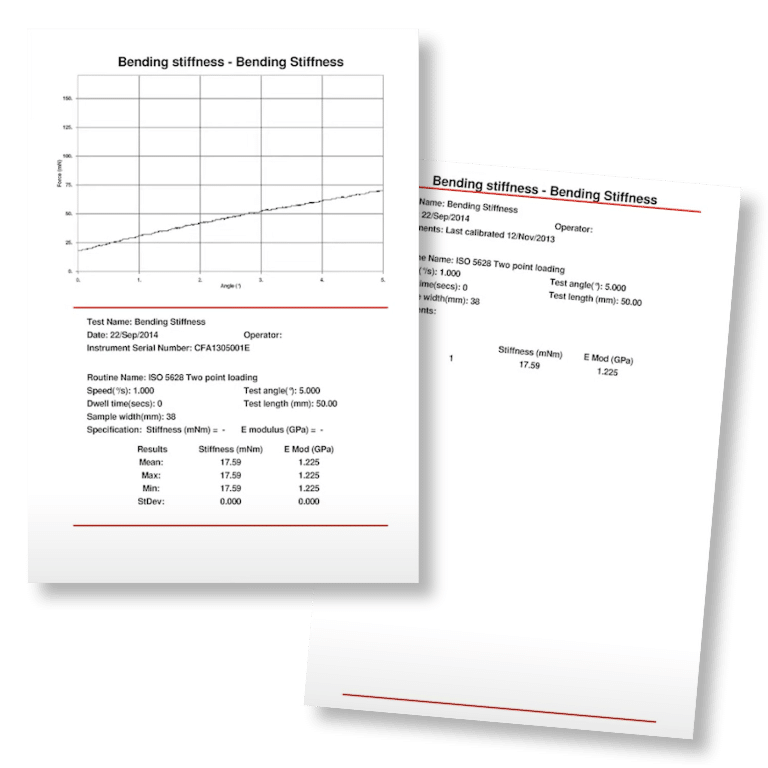
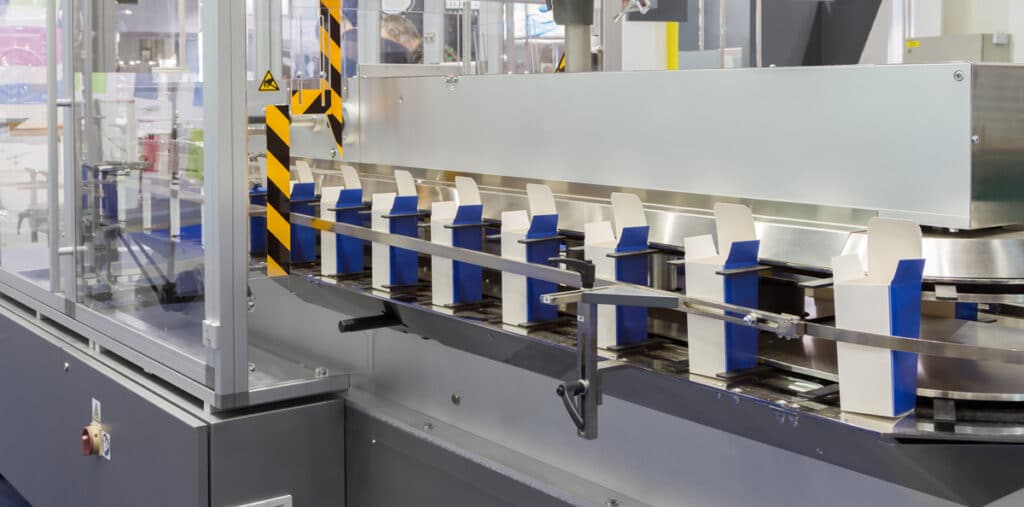
This flexible instrument can be configured for quality or research use. All operations and test methods have comprehensive graphical on-screen help.
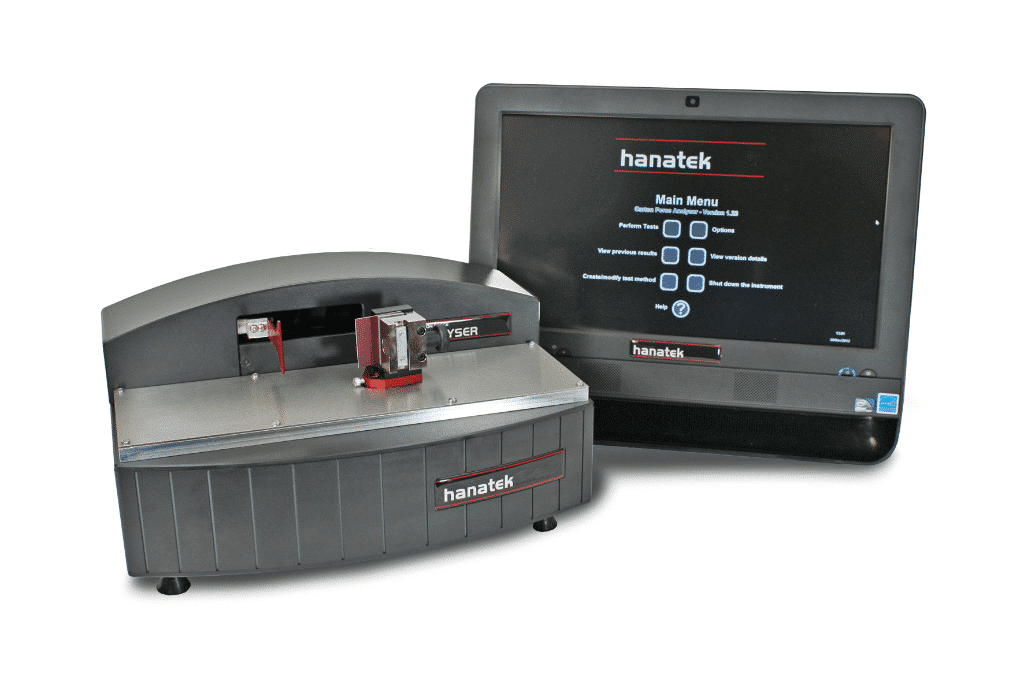
No need to consult complicated manuals and easy training for new users
Motorised jaw for repeatable and accurate speed control
Accurate and easy to analyse results

| Standard | Application | Details |
|---|---|---|
| ISO 2493 | Paper and board | Determination of resistance to bending (Lorentzen & Wettre/Taber) |
| ISO 5628 | Paper and board | Determination of bending stiffness by static methods |
| TAPPI T 556 | Bending resistance of paper and paperboard | Lorentzen & Wettre/Taber Tester |
| T 543 | Bending resistance of paper (Gurley-type tester) | Calculated results equivalent to this method |
| T 489 | Bending resistance (stiffness) of paper and paperboard | Taber-type stiffness tester in basic configuration |
| DIN 53121 | Testing of paper and board | Determination of the bending stiffness by the beam method |
| BS 6965-1 | Creasing properties of carton board | Method for determination of crease recovery (spring back) of 90° fold |
| DIN 55437-3 | Testing of folding cartonboard | Creasings - Part 3: Determination of the technical quality of creasings |
| Instrument Specifications | Resolution | Repeatability | |
|---|---|---|---|
| Rotation Angle | 0.01° | 0.1° | |
| Rotation Speed | 0.001°/min | <0.01°/min | |
| Load Cell | 1mN | <10mN | |
| Power | 120V/230V; 50Hz/60Hz | #colspan# | |
| Load Cell Capacity | 20N | #colspan# | |
| Minimum Sample Thickness | 200μm | #colspan# | |
| Instrument Dimensions | ||
|---|---|---|
| Size | 220mm (H) x 225mm (W) x 300mm (D) | |
| Net Weight | 7kg (instrument), 4kg (PC) | |
| Gross Weight | 15kg | |
| All-in-One PC Specifications | ||
|---|---|---|
| Operating System | Windows 11 | |
| Integration | Easily integrated into laboratory network for results/backup and printing | |
| Results | Results can also be exported to USB Stick | |
Free extended 2 year warranty: Requires registration at www.rhopointinstruments.com/help-services/forms-feedback/instrument-registration/ within 28 days of purchase. Without registration, 1 year standard warranty applies.
Fast and economic service via our global network of accredited calibration and service centres. Please visit www.rhopointinstruments.com/help-services/calibration-servicing/ for detailed information.
Gloss is an aspect of the visual perception of objects that is as important as colour when considering the psychological impact of products on a
Identify the surface that you wish to measure. Is it a flat surface? If so, it can be measured with a traditonal glossmeter. Curved surfaces
RSpec is the peak reflectance measured over a very narrow angular band in the specular direction (+/-) 0.0991º. RSpec is very sensitive to any texture
Please note, this is NOT a quotation, just a confirmation of the price when purchased in the UK exclusive of VAT/duties